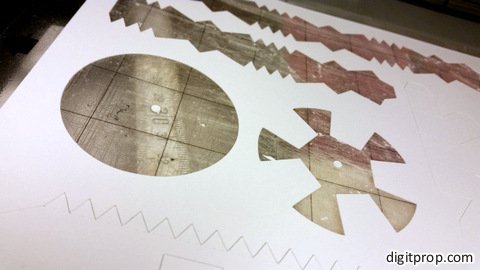
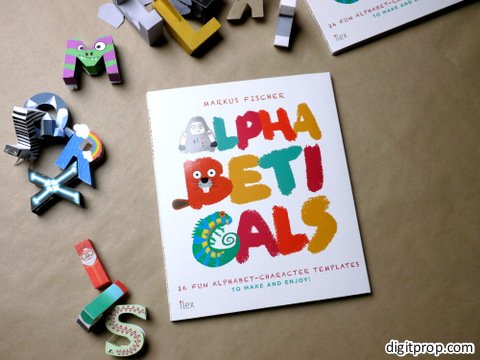
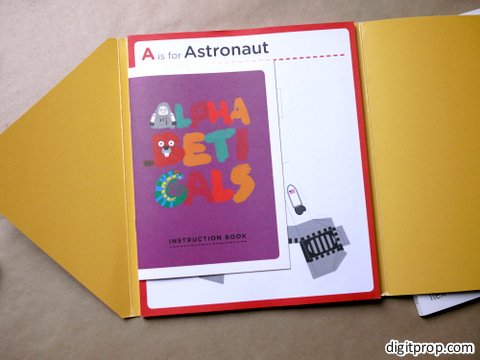
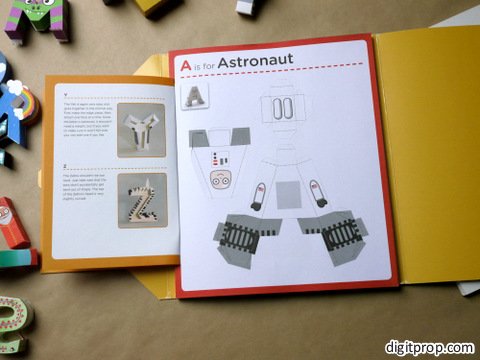
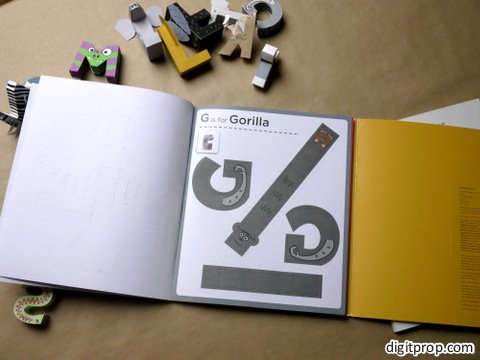
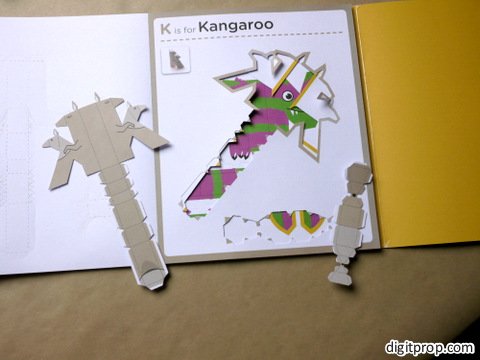
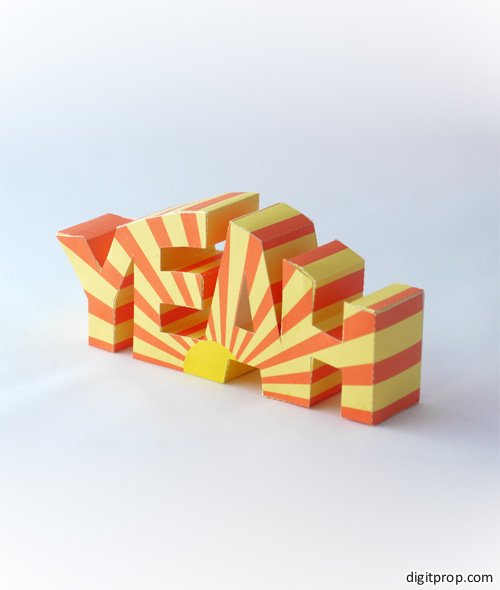
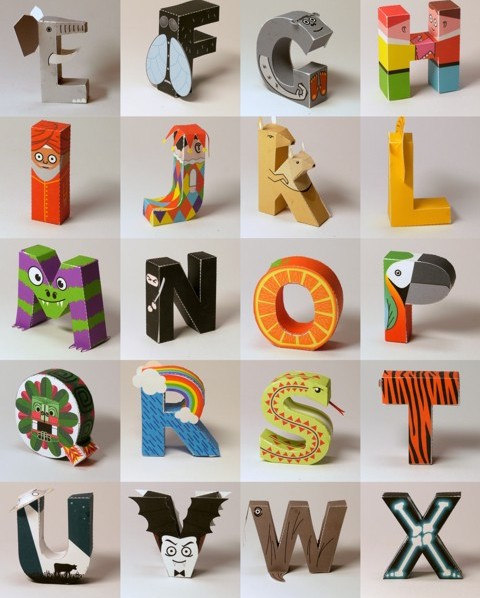
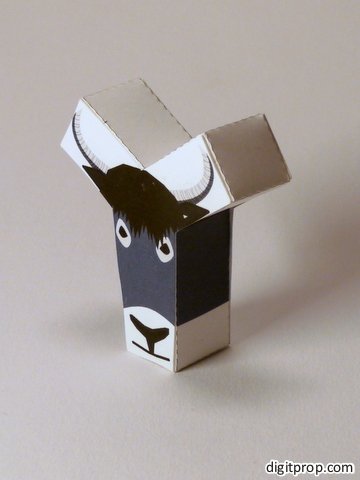
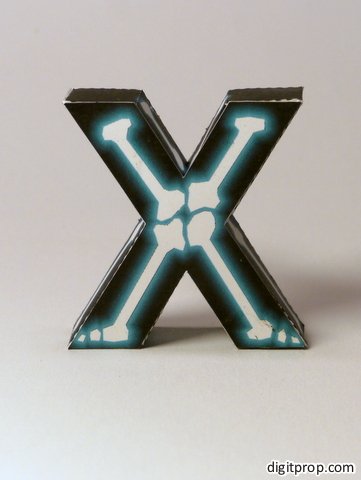
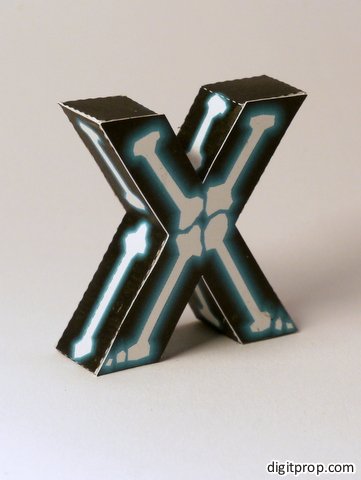
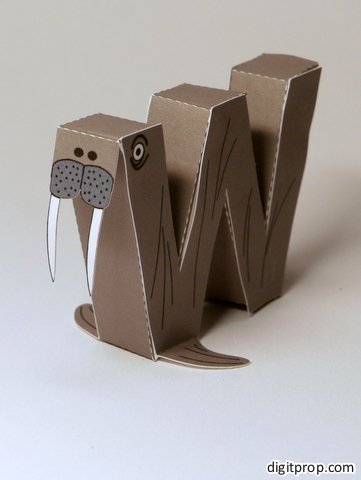
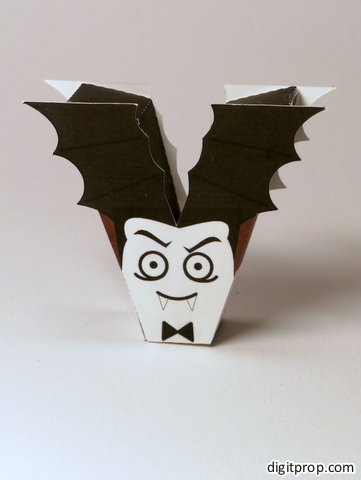
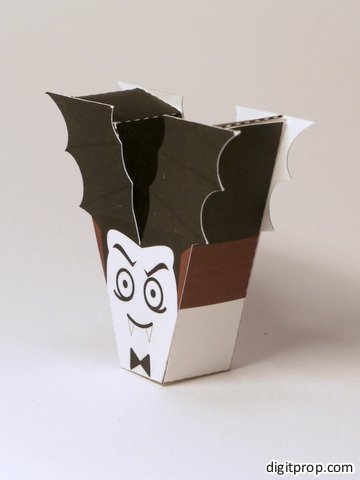
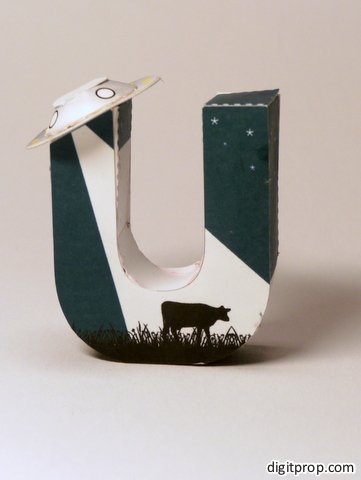
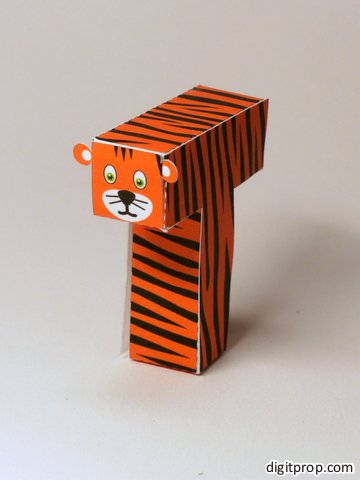
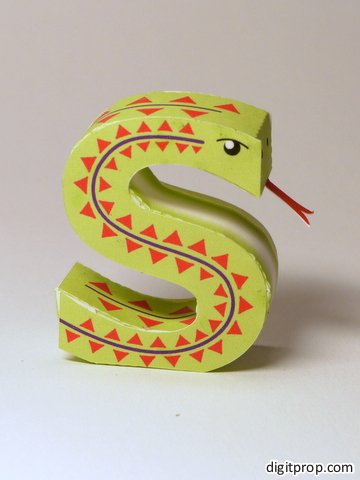
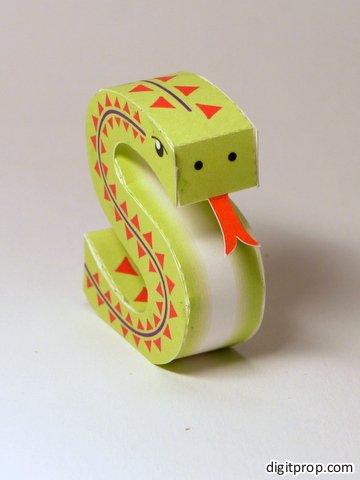
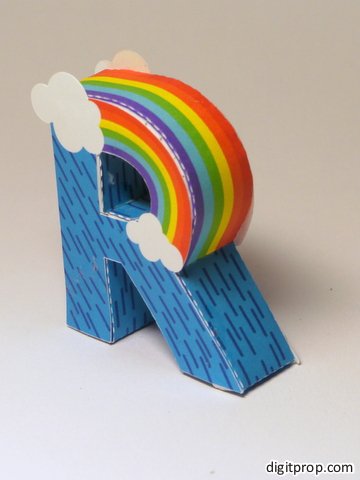
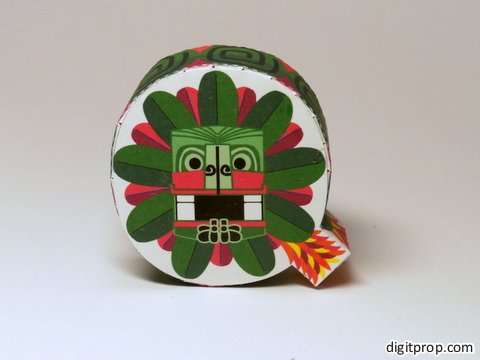
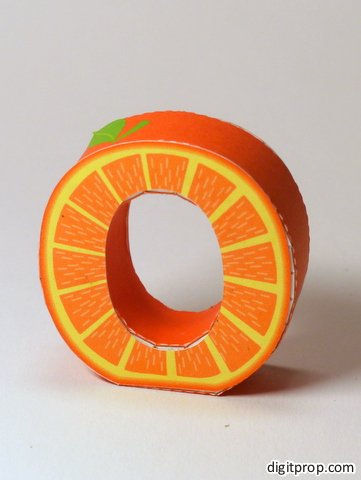
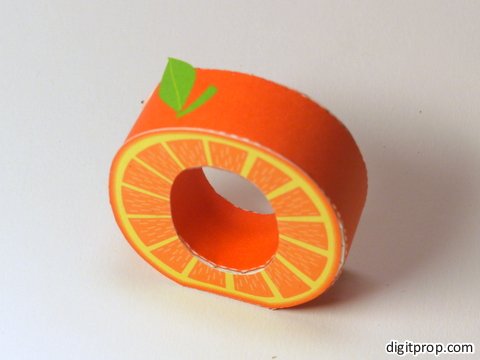
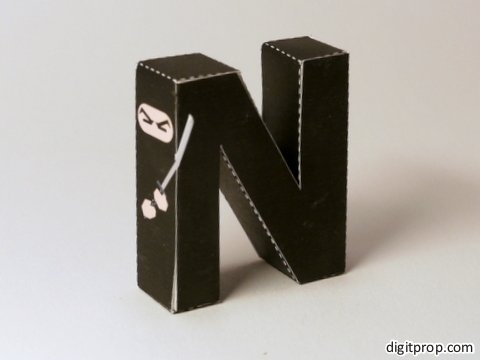
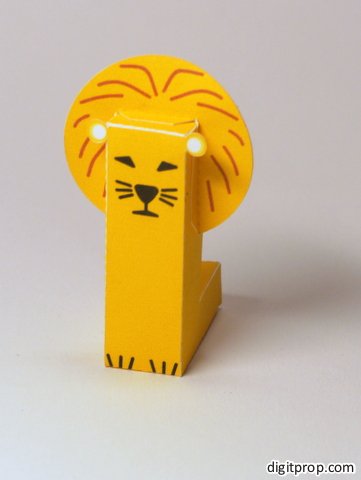
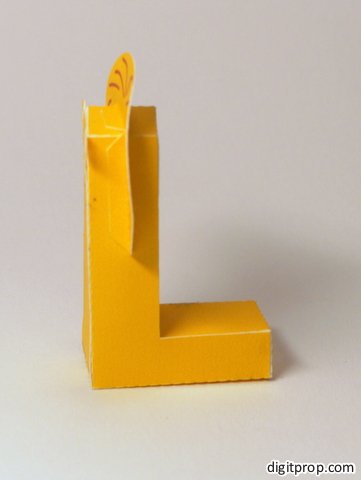
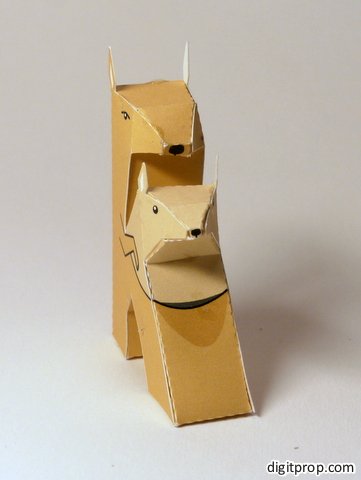
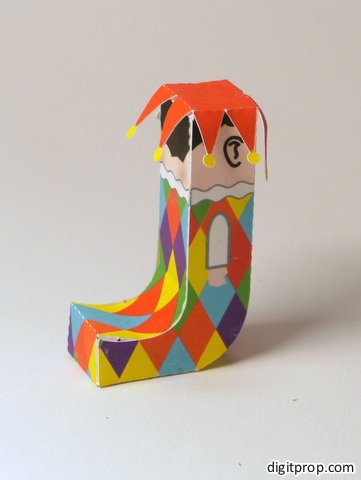
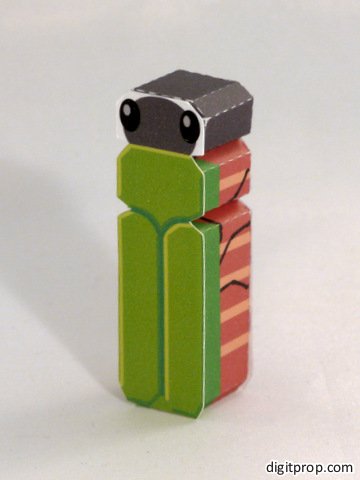
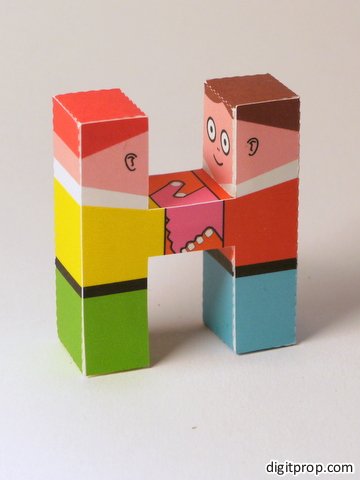
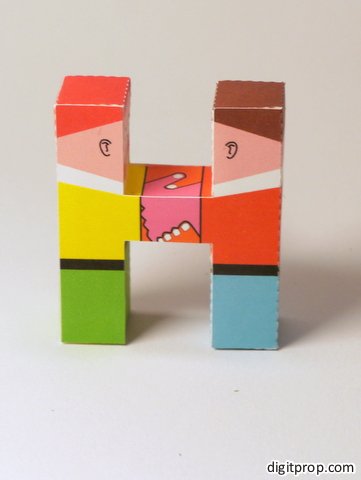
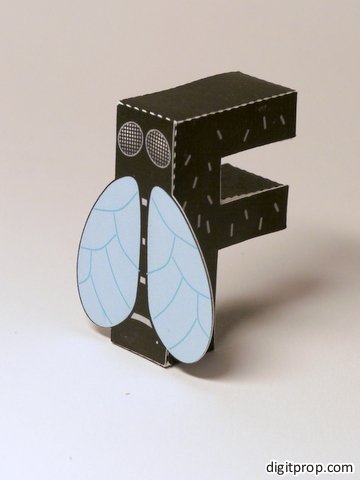
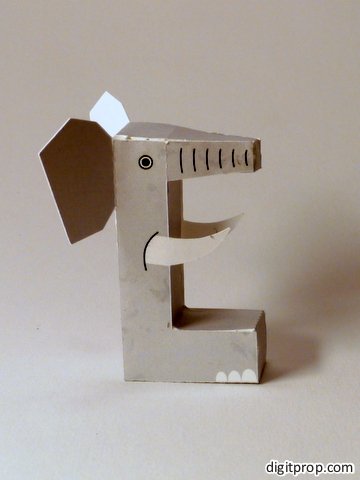
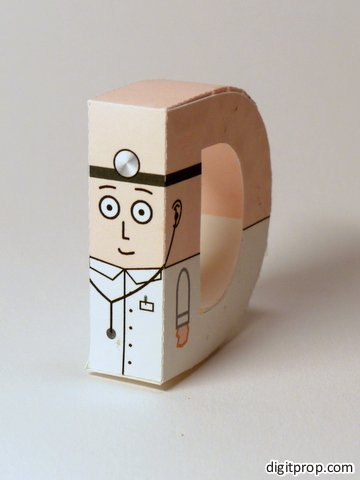
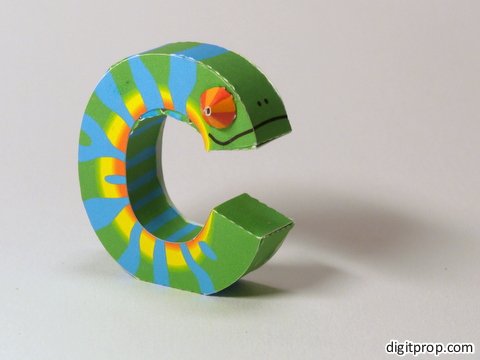
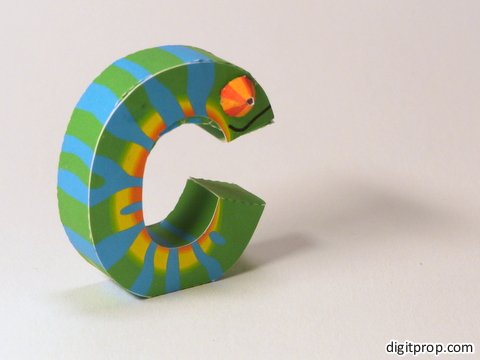
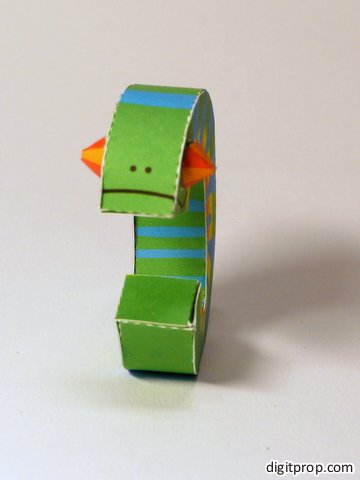
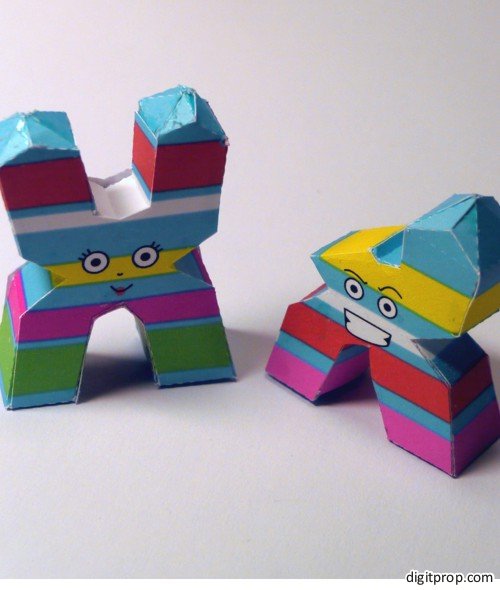
Update: The alphabet is now available as a beautifully printed book. Since it contains the letters already precut, it saves a lot of time.
I noticed that the papercraft alphabet created some interest among people who are not (yet) experienced in papercrafting. Therefore, some letters turned out to be a bit too difficult for some, which prompted me to write this little tutorial. The idea is to give you pointers as to where to start.
Here is a video tutorial on the letter J:
And here is a photo tutorial, I have chosen the ‘R’, as it is one of the more difficult letters due to the curved shape and the inner hole. Print the PDF template onto a sheet of paper or – preferably – cardstock. I use 190g/sqm (about 53 lb) cardstock. Please notice that the strength of the paper should match the size of the model. The letters are about 6cm (2.4 in) high, so 190g / 53 lb is already a bit on the heavy side. For larger models, the paper should be even stronger.
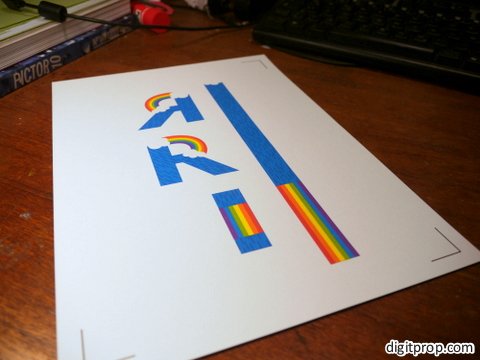
You can print with any printer. Using a laser printer leads to color that is less prone to smearing when getting into contact with glue or water, but inkjet printers usually have nicer colors and gradients.
Originally I said that the first step after printing is to cut out all parts. However, Carol rightfully pointed out in the comments that it might be easier to first score the pieces in the uncut template, and then cut them out. In this way, it is easier to align the scoring tool.
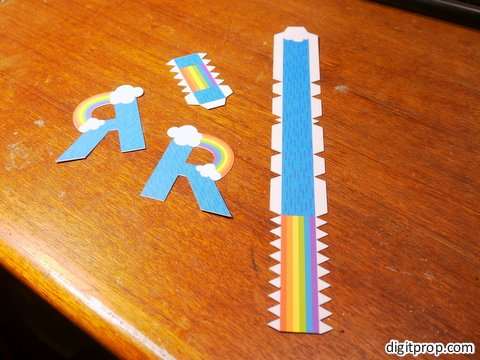
This can be done with a pair of scissors, but for details and holes it is useful to use an Xacto knife or similar sharp, pointed tool. However, please be careful with these: They are much more dangerous than scissors and shouldn’t be given to children.
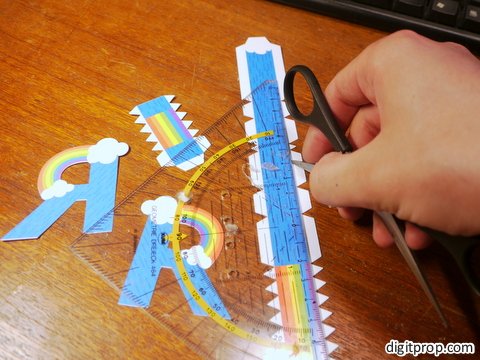
the next step is to score along the dotted lines, so that the paper doesn’t break when you fold it. This can be done with any object that is pointed but not too sharp. the tip of scissors works reasonably well. In order to score precisely, it’s a good idea to align the tool with a ruler along the straight edges (except for curved parts, of course, where you and your steady hand are on your own):
There is also a dedicated tool for this job, called a bone folder (although these days it’s made from plastics). This is not really required, but if you want to do a lot of papercrafting, it can be a good investment (and it’s really unexpensive). It can be bought in all reasonably well-assorted crafting stores.
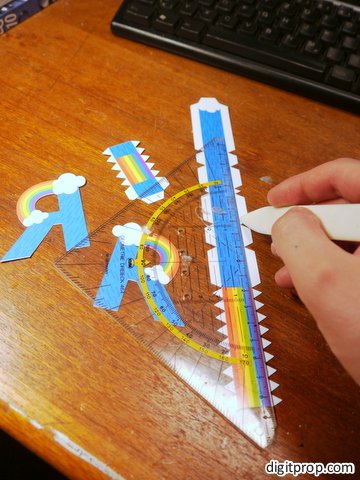
Carol suggests to use a knitting needle, which – if you have access to one, which I don’t – might in fact be even better suited – excellent suggestion, Carol!
The next step is to fold everything along the dotted lines. There are mountain folds and valley folds. They are not specifically indicated, but it’s usually easy to determine which is which by looking at how the parts fit together.
With most letters, you have the two faces and a strip that forms the edge. The ‘R’ is no difference – except that it has two strips, one for the hole and one for the outer edge. If you look at how the edge strip aligns with the faces, it is easy to figure out which folds are mountain folds and which are valley folds.
However, even if you make a mistake and fold into the wrong direction, this can be rectified later – once the paper has been folded in one direction, it easily folds back into the other direction as well.
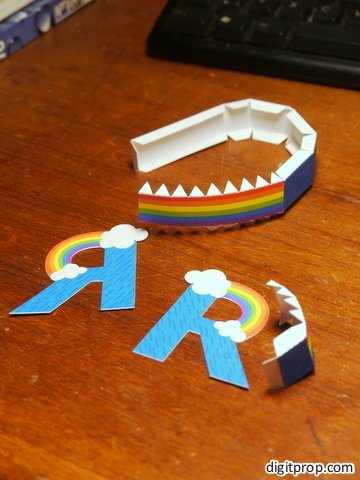
Now it’s time to glue the parts together. For the ‘R’, we start with glueing the inner edge into a circular shape. Make sure that the printed side faces inwards. Then, apply glue to the flaps on one side only:
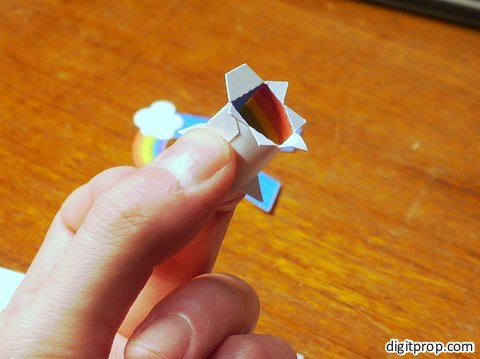
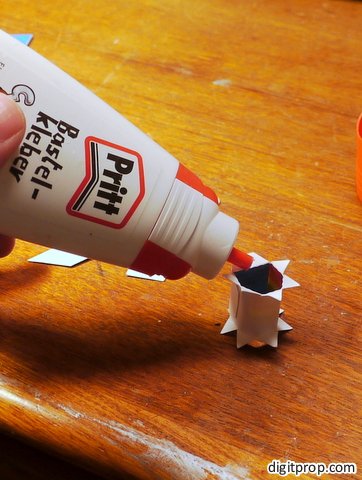
By the way, speaking of glue: The type of glue doesn’t really matter, you can use any glue suitable for paper. I personally use white ‘crafting’ glue which dries quickly, but not too quickly to realign parts, and is not too runny. It becomes transparent when fully dried, so small smudges aren’t that tragic. However, the paper gets dirty very quickly when covered in glue, and the glue tends to solubilize the printer color (for inkjet dyes at least) – so be carefuly and keep your hands as clean as possible. Perfectionists don’t apply the glue directly out of the dispenser, but with toothpicks.
Glue the part to one of the faces, and make sure that it aligns nicely with the edge of the face:
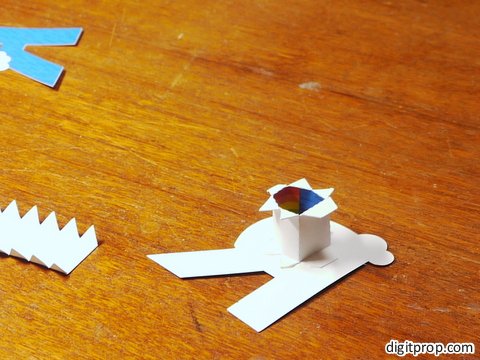
Now, apply glue to the flaps on one side of the outer strip, and section by section, glue it to the same face. You will end up with this:

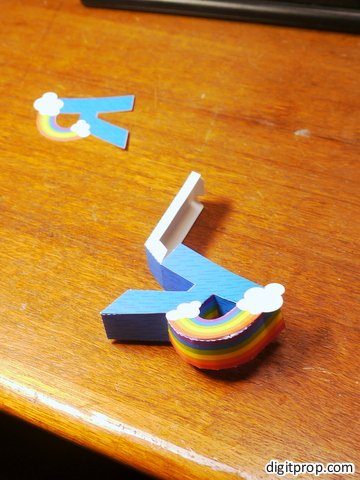
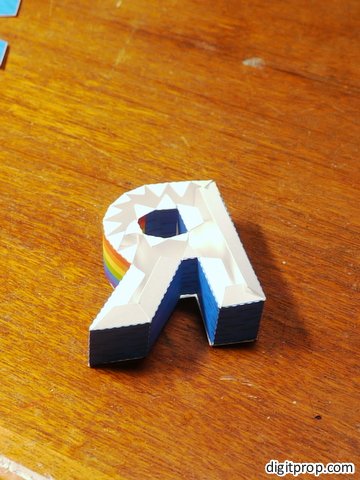
You may notice that the whole shape bends slightly, due to the uneven stress on the paper. This will be corrected by the next step: Simply apply glue to all remaining flaps, place the other face onto them and pull and push everything into shape.
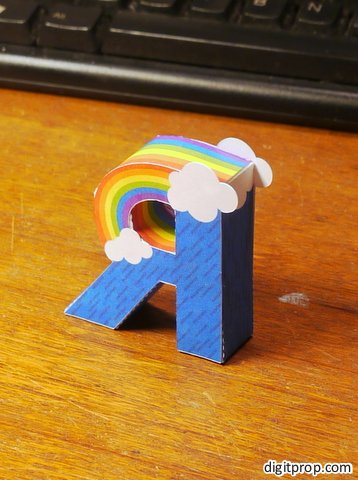
That’s it. The whole process is actually not difficult, but takes some time getting used to it. The most important ‘trick’ is to be patient: Apply glue to one section / flap at a time, hold it in place until the glue sticks, then move on to the next piece.
