Solar system
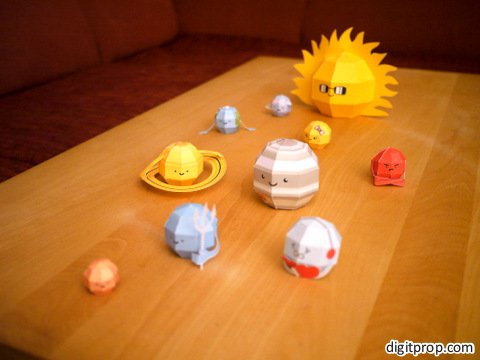
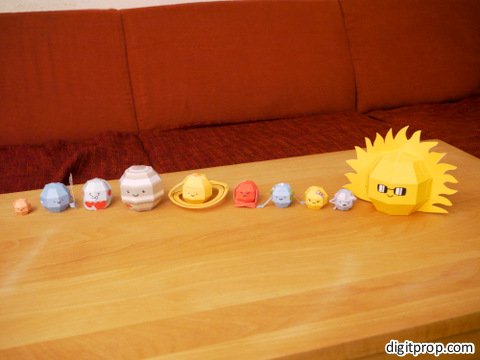
Here is something for astronomy geeks: Our solar system as a DIY papercraft kit. The set contains all eight planets, sad little pluto who not too long ago got demoted to ‘dwarf planet’, and – of course – our home star, the sun.
Each planet has its name, diameter, distance from the sun and mass printed on the bottom, which makes the whole set somewhat educational. Honestly, though, for my kids it just was a lot of fun tossing the planets around.
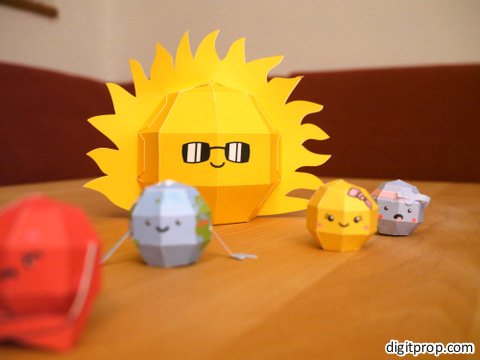
Here are more details: First, the sun, wearing – wait for it – sunglasses.
Next up – as sorted by orbital distance from the sun – is Mercury, who is a bit too close to the sun for his own good:
Next is girly Venus:
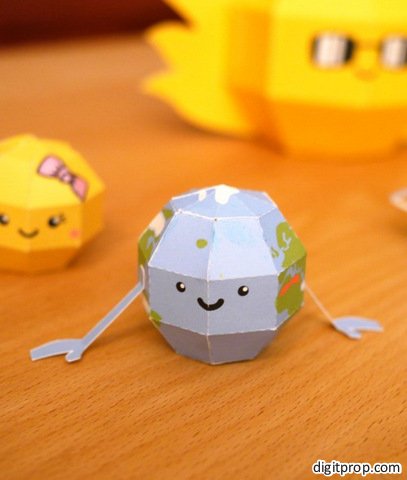
And the blue planet, Earth:
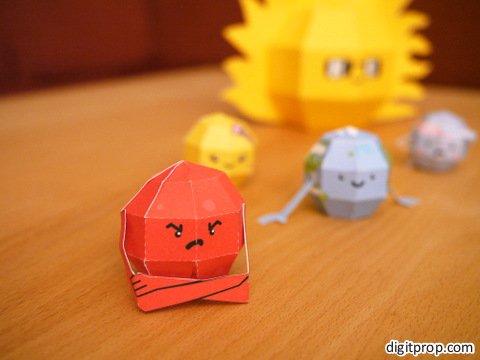
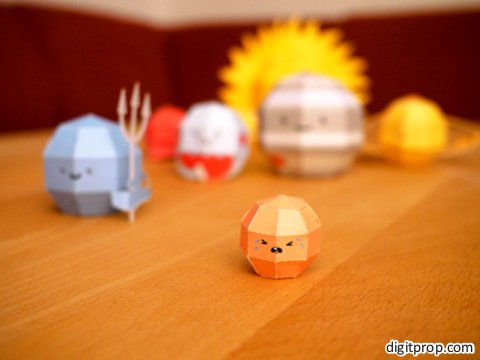
Followed by grumpy Mars, the god of war:
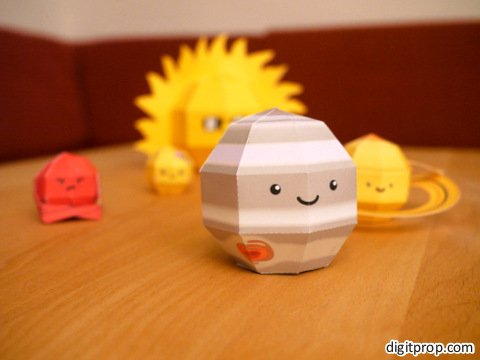
So much for the inner planets. Next comes Jupiter (if you want to be really accurate, you have to include the asteroid belt – I suggest pouring copious amounts of sugar or salt on the table):
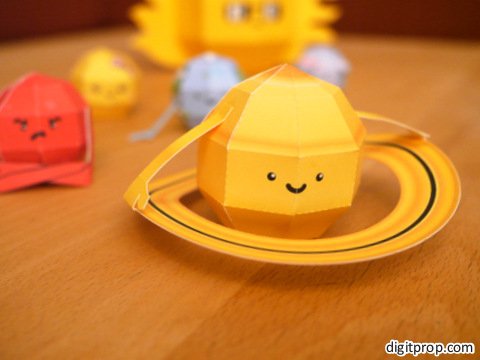
And Saturn, complete with ring (actually, this is a ring system, consisting of more than 100,000 separate rings):
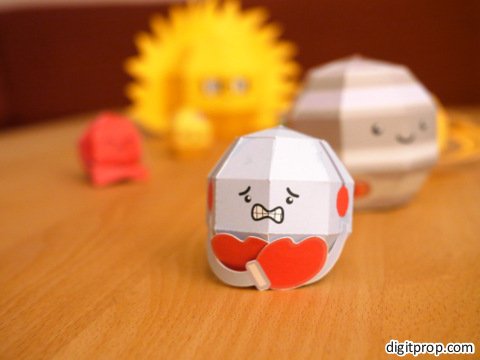
Then we have freezing cold Uranus:
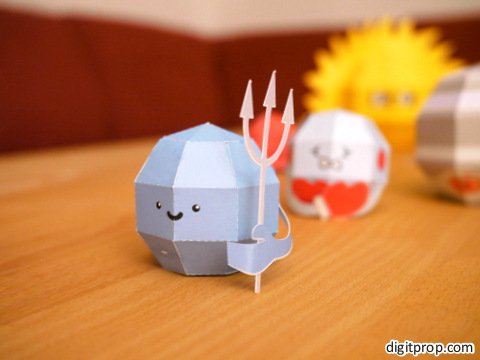
Neptune is even colder, but being named after the Roman god of the sea, I gave him a trident instead of winter attire:
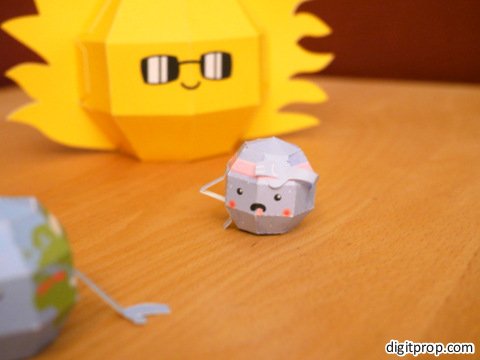
And finally, here is Pluto, who is not exactly happy about his lost status as the ninth planet:
As you may have noticed, the planets differ in size, roughly indicating their relative sizes. However, this is by far not to scale. In fact, size differences are vastly compressed, so that – for example – Mars is as big as Earth, whereas in reality it is about half of Earth’s size. By the way, if you want to place the planets at a distance relative to the sun’s size, you would have to place Earth 11.8 m away from the sun, and Pluto about 466 m away!
Here are the PDF templates:
Update: I have turned the planets into Christmas baubles, and so can you (it’s very easy).
 This work is licensed under a Creative Commons Attribution-NonCommercial-NoDerivatives 4.0 International License. For more details on what you can and cannot do with my work, see here.
i can’t find download link ㅠㅠㅠㅠ
can you send the file to this e-mail?
kitene@naver.com please
or please show me the link^^
What a great idea. We are going to use it for a 4th grade project.
Thank you for these, so easy to make and they look awesome. My kids loved them!
can u add asteroids or make a galaxy
Let’s see – I am planning on expanding the collection anyway. It’s just a question of when I’ll find the time for doing so…
can you provide instructions for assembling the sun ? Thanks
Thanks for the feedback – I will try to provide a tutorial soon.
I love this idea and am excited to try it with my class! I second the previous comments about a possible tutorial? Is there anyway you could post step by step how to, with pictures? I totally understand if you don’t have time, but I was just curious!
Thanks for the feedback – I will try to provide a tutorial soon.
Where is moon?
Sorry, just the planets (plus Pluto – still can’t get used to the guy no longer being one). The moon may come at some point in the future, though…
This is the best thing related to the Solar-System EVER!!! I love it so much, and as a teacher I must say that my kids loved it. It kept them in focus and they actualy WANTED to do it (and if you walk in my class, the students want to do absolutley NOTHING…)!
Hey, thanks for the kind comment! It means a lot to me, especially coming from a teacher – you know firsthand what works for kids and what doesn’t.
They are so cute!!
I love it. thank you!!!
This is awesome!!! I am a fifth-grade teacher and am starting a space unit tomorrow! They will love folding up the paper as an opening activity to make these planets! I’ll be sure to let them know they aren’t really to scale. Thanks for sharing for free!
Thanks for sharing for free!
I don’t know if was my printer setting but all the planets came the same size…
They should not be exactly the same size. They are absolutely not to scale, so Jupiter is not much bigger than Earth, for example, but still there should be slight differences. At least those on the same sheet (such as Pluto and Earth) should print in different sizes. For instance, Earth is about 45% bigger than Pluto.
I really love this!!!!! The assembling of it is a bit difficult, please help. Thank you!
I am currently a bit busy, but I will try to put together a small photo tutorial sometime soon.
Dont you have a death star? #starwars
Well, I can’t really do a death star – that would be copyright infringement.
How do you asemble it
It’s actually not very difficult. It’s basically the same template for all planets. Glue the flaps to the adjacent glue areas. I recommend doing this in “meridians”, i.e. the vertical stripes covering the top and bottom of a planet, rather than first doing the top, then the middle, then the bottom.
The most difficult part is closing the almost finished sphere, when there is the last set of glue areas remaining. This takes some patience and simply holding the planet in place until the glue sets.
I will try to provide pictures, but it will be a short while until I can do that.
Thank you so much for providing this and for free! These were super fun for my five year old who loves planets.
Glad your kid liked it! And congratulations on an astronomically inclined child at this young age!
I am missing the man in the moon. This would make explanations of solar/lunar eclipse more easy. Thanks for the fun attitude in your planets and the star.
Hey Stefan, great idea! Thanks for your comment! I will definitely consider making a moon, too. And maybe a dedicated earth / moon set at a slightly larger scale.
Hiya, my kids are loving this craft, but Jupiter seem to be green and not the lovely ceams and Browns like your one in the picture… Can you help us ?.. Thank you so much.. X
Hm, color management across different computers and printers is a bit difficult. I am not sure what goes wrong in this particular case. I have checked the colors, and they seem alright. As you probably know, most printers mix the colors from 4 base colors, cyan, magenta, yellow and black. In the case of Jupiter, the colors are a mix of yellow and black, or yellow, magenta and black. There is no cyan in there (except for the stripe in the northern hemisphere, which has a blueish tint, but this is intentional). With cyan missing, the colors should not have a green tint.
Are you sure your printer has enough ink? If you print a document with the base colors, you can check whether they come out ok. If that’s the case, then the problem must be somewhere in color management. Unfortunately the number of combinations of monitors, printers, and color profiles is staggering, and there is no easy way to adjust. However, I found that in most cases the default color profile works quite well. So if you have a custom color profile active on your system. you could try deactivating it.
what a great idea!!!
Hai, just want to inform you that I’ve found this printable in another web: http://www.cupidocreative.com/2015/05/kerajinan-anak-tata-surya-bumi.html; are you both the same group? Thank you!
Hi Fiona, thanks very much for pointing me towards that site. We are not the same group, and they have in fact stolen the template and posted it without attribution! Although I won’t hold my breath, I will contact them and ask them to take it down. So thanks again, this kind of copyright theft is really destructive and annoying.
Pingback: Close encounters with Pluto | CosmoQuest Blog
Pingback: Summer Science Projects | CosmoQuest Blog
Pingback: Learning Space 98: Summer Science | Educators Zone
Great! thank you!
Thanks you for the lovely craft !
It is so cute~
But it is differcult to glue it to a ball.
Could you give some tip please?
Thank you Very much
Once you have cut out the template, you will have a strip of segments, each with three parts – one for the upper section, one for the middle, and one for the lower section – plus the bottom itself. Start with the lower section, and glue all tabs in place, but don’t close the structure into a ring yet (i.e. don’t glue the last tab back onto the other side). Now do the same for the top section. As the top section will completely close the ball at the top, the last tab is tricky. Close the structure into a ball by gluing the top, middle, and lower section in place simultaneously. Since the bottom is still open, you can press against the tabs from the inside. Finally, close the ball by gluing the bottom face onto the corresponding tabs.
Hope this helps. If it doesn’t, let me know.
Thank you so much! It’s very helpful!!!
You are right.I glue the bottom and close the structure into a ring first. Ha ha~ (;^_^A
You NEED to make them baubles! Like now!
Baubles, eh? Hm… yes, yes, you are right! What a great idea! Will try to make it happen. I’m very busy right now, but this warrants allocating some resources…
Thanks for these my kids will really like them!
Thank you so much for these EASY, EASY downloadable planets. My grandchildren are going to be over the moon.