Tag Archives: model

3D printed airplane miniature

2015-04-13

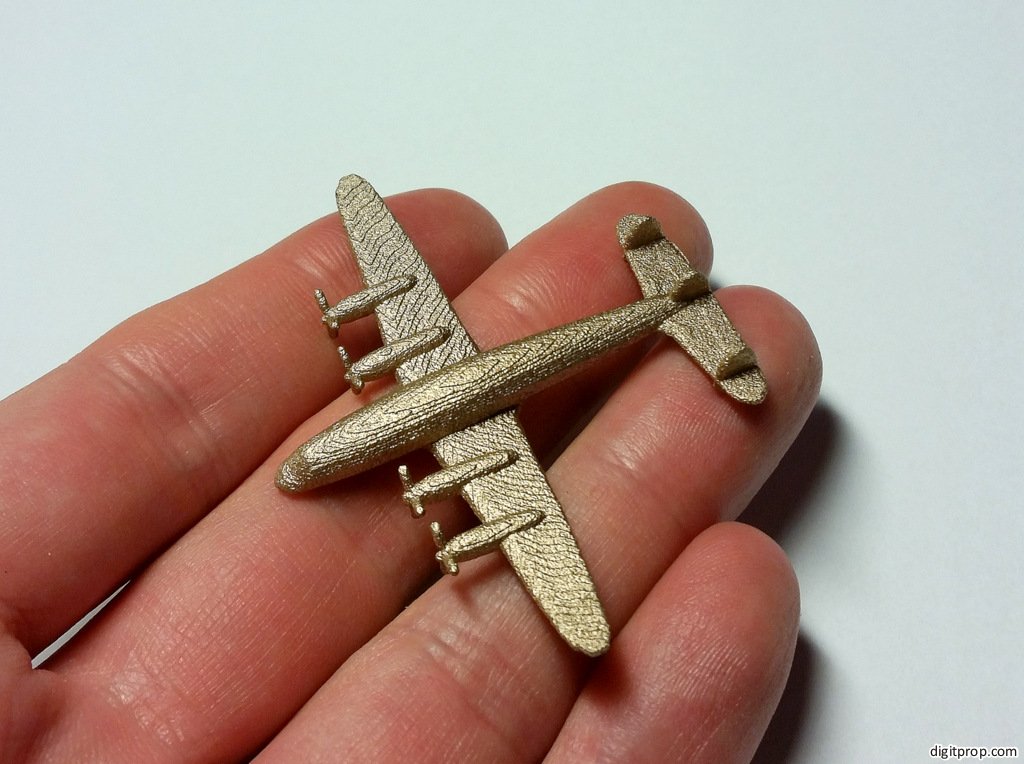
This was an experiment: I wanted to see how well Shapeway’s stainless steel prints turn out, especially for tiny details. For a test, I picked a model of the Lockheed Model 10 Electra – the airplane Amelia Earheart flew on her last flight.

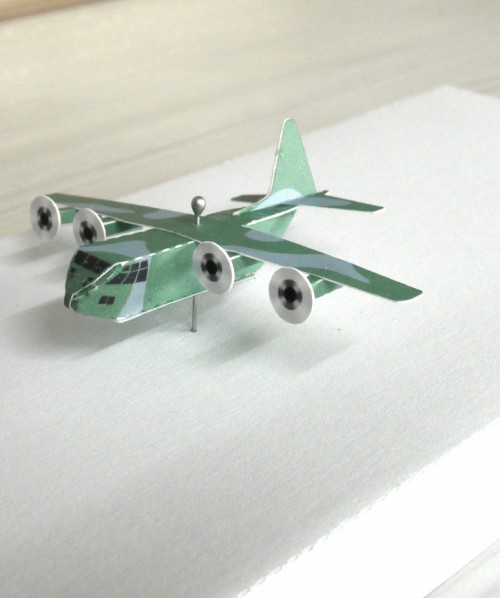
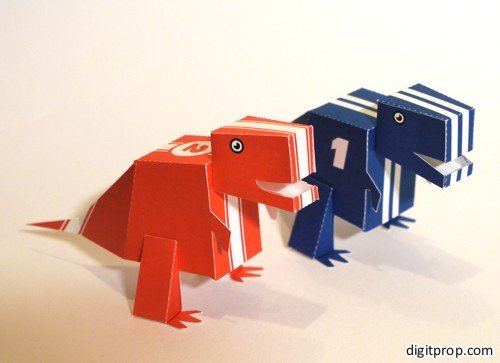
I will be showing some paper airplane models at the Aero Expo starting on Wednesday, April 14, and I thought it would be nice to bring along a 3D printed steel model as well.

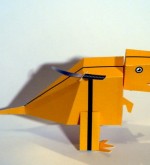
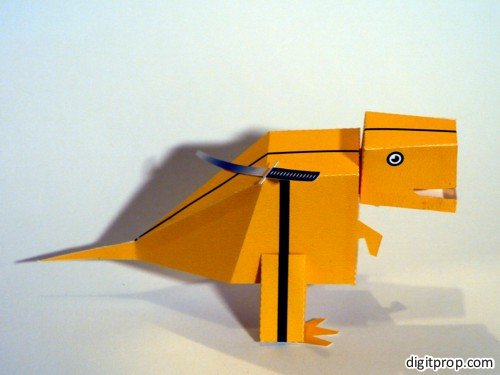
I had made a paper model of a similar Lockheed airplane before, and after tinkering with the schematics a little bit (more on this in a future tutorial), I had a 3D model that was fit for printing.

2015-04-13 17.25.48

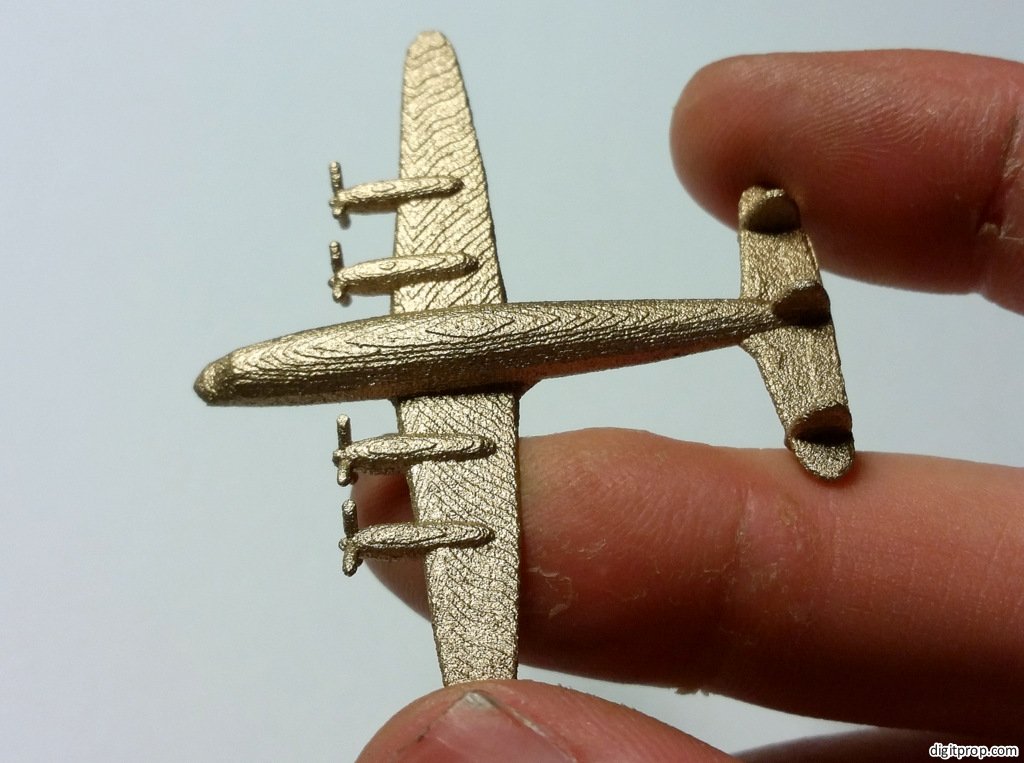
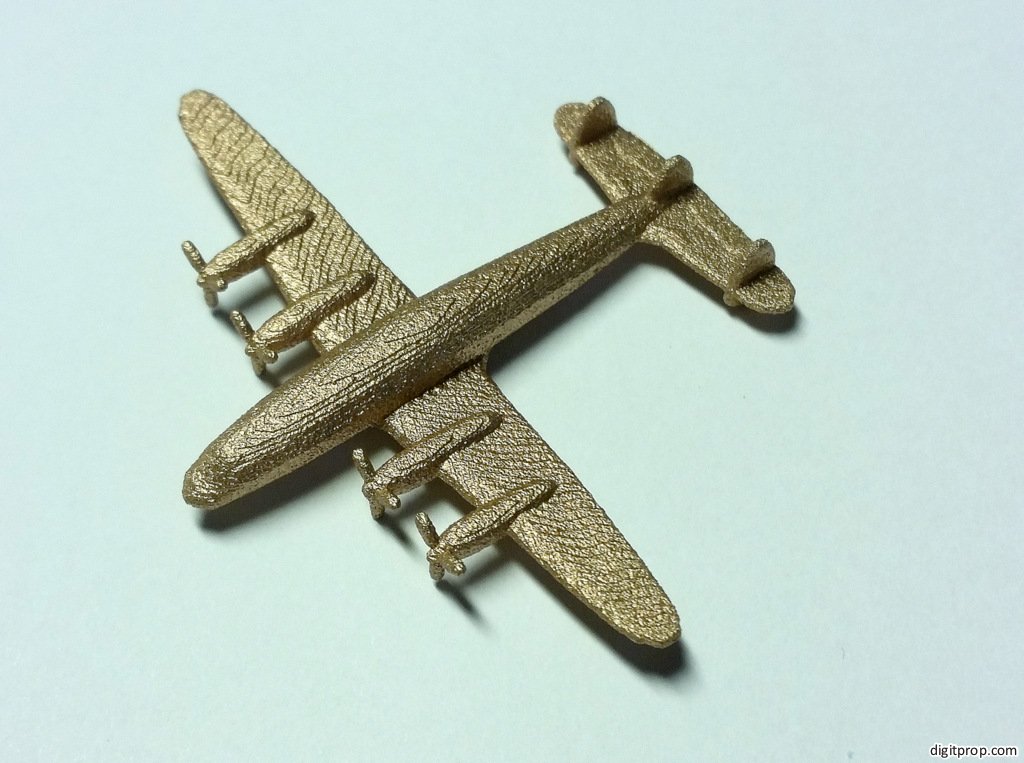
Turns out, Shapeway managed to produce a very nice print. This is not plastic, but stainless steel. It’s bronze-infused, meaning it has an almost golden sheen to it.

2015-04-13 17.25.10

As far as I know, Shapeways uses a sintering process to print these, so there is no need for support material, and thus no visible attachment points. Being used to working with plastics, the weight of a stainless steel model feels great, too.

The details turned out very nice. I was concerned with the propeller blades, as they are very small and thin, but they printed nicely and don’t feel like they will break off easily.

2015-04-13 17.24.49

So, all in all I would consider this a success, except maybe for the price, which is not horrible, but not insignificant either – after all, this is a very small model (about 5cm long). Nevertheless, if you want to have one, too, you can order it from Shapeways. Mine took about one week for printing and shipping.


Paper model of the Reddit logo

2011-04-09

This is my stab at a paper model of the Reddit logo. The rounded shapes of the logo do not lend themselves well to papercrafting, and so a paper model will either be very complicated to assemble or inaccurate. I took the easy road and made a rough approximation, which only looks good from the front. Well, at least it’s relatively easy to assemble.

If you want something more refined, look here.

Here is a glimpse at the not so elegant backbone structure:

And here are the parts:

And here is the template (see also instructions here):

Assembly should be easy: First, glue the large strip into a cylinder – this will be the “body”. The body, head, and feet are connected by sliding them into assembly slots cut into the opposing part. The head has two strips which interconnect via the same slots. They form an ‘X’ which can then be inserted into the slots in the body cylinder.

Papercraft toy: A cow

2011-02-27

Ok, this is funy: The post was originally titled ‘A cow named Sue’. I thought I’d give the cow a name, for the sake of reinforcing the anthropomorphization. Fast forward a couple of months later, I look at my web stats and more specifically the referrers. Turns out there were two Google searches for the term ‘a cow named sue’. Hm, strange, I think to myself – rather unlikely that somebody came across the post, vaguely remembers it and looks it up in Google under the exact title.

So I did the Google search myself. Surprise, the first hit is not my post, but rather a childrens’ book. As far as I can tell, I was completely unaware of its existence, let alone its title, but somehow it must have crept into my subconscious. The other explanation, that I randomly chose the same – rather randomly picked – name for my cow as Penny Wolf, the author of ‘A cow named Sue’, seems too improbable. Or maybe, there is an archetype hardwired into the human brain… I am sure if you dig deep enough, some Phoenecian god of fertility with a bovine head had a name phonetically vaguely similar to ‘Sue’. Oh well…

Anyway, the cow formerly known as Sue is a happy cow. She really is. She may look a bit wideeyed and startled, but she is completely happy. Trust me.

Here she is standing on her template sheet:

Turn around:

Good girl!

As you can see, I messed up when I constructed the model – I got some water on her face, blotting the inkjet ink. Feel free to do better…

And here is the template (see also instructions here):

T-shirts for minifigures

2011-02-23

If you haven’t already stumbled upon it, Muji and Lego found a great way of combining paper and Lego® bricks. For any Lego® afficionado, that is exciting news in and of itself. However, I think that this idea can be expanded some more. If we combine Lego®-compatible punches in sheets of paper with a cutting plotter such as the Craft Robo, a whole new world of Lego® paper toy hybrids can be created.

In fact, what Lego® bricks lack – detailed illustration, ornaments and bling – can now be printed on a sheet of paper and added effortlessly. When you look at the Lego® evolution over the past 50 years, it’s clear that there is always a slight friction between the inherent abstraction in a Lego® brick and children’s love for detail. To some extent, paper can bridge that gap if it can be easily applied. All it takes are punches in the shape and size of Lego® stubs.

As a first foray into this area, I present a template for a ‘t-shirt’ for minifigures:

This is how it looks in real life, ready to be applied:

The central hole is for the ‘neck’, the four octagonal holes are for the leg stubs. This fits nicely over the torso of a minifigure, like so:

It’s automatically held in place by the ‘neck’ and the protrusions from the legs. So no adhesives (I hate stickers on Lego). By printing art onto the trapezoid front and back, you can design your own minifigure tees. Just take a look:

Here is the template:

LEGO® is a trademark of the LEGO Group of companies which does not sponsor, authorize or endorse this site

So I hear you want to make a dog

Well, you’ve sure come to the right place. Here is a dog you can make quickly from a sheet of paper. It’s bipedal. though, so technically it’s more a dog deity than a mere mortal dog. But hey, what’s not to like about man’s best friend taking the next evolutionary step?

Ok, this puppy is easy to assemble. Just download the template, print it out (I recommend sturdy >190g/sqm paper), and cut out the three parts. Preferrably with a sharp knife – think Xacto. Then glue them together, following the letter-code hints on the flaps.

Here is what you will get once you have cut out all three parts. These are already roughly folded into their final shape, and now need to be assembled using some glue.

Since this is made of paper and is hollow, it tends to fall over easily. To fix this, I recommend adding a weight to the base. This can be a small coin, like so:

It’s a good idea to glue the weight to the base and in addition secure it with a piece of tape:

Trust me, experience has shown that the weight gets loose all too easily, and turns your dog into a rattle where the coin bounces around inside the hollow base. Which would not be so bad, but it defeats the purpose of the weight, and a bipedal dog falling flat on its face all the time is, well, a bit sad.

Here is a close-up of our doggy:

And here is the template (see also instructions here):