Tag Archives: animal

Bird Cage Egg

2015-04-02

This is a 3d print I made last minute for Easter: A bird in an egg-shaped cage. The egg is just a little bit smaller than a real chicken egg. I like this one in particular because it is something that would be difficult to do with injection molding – at least in one piece and one step.

P1350881

The kids like it very much. And it is a fast print – about 20 min.

P1350868

You can find the model here. I have made two variants, one with a ring to hang it, the other without.

P1350882


Also, since we are on the topic of Easter trinkets, here is a beautiful model by Mirice on Thingiverse which I printed: An origami bunny in plastic:

2015-04-02 23.09.06

Y is for Yak

This is basically the single one animal starting with the letter ‘Y’ both in English and German. If you have made all 24 letters coming before this one in the alphabet, you will be relieved to fnd that this one is very easy to make.

You will find the other 25 letters of the papercraft alphabet here.

Here is the template as a PDF file.

T is for Tiger

The tiger is again easy to make. I realized soon after having finished the design, that he looks much more clueless and much less fierce than his relative, the lion. Sorry, tiger – you may be in for a redesign in the future.

You will find the other 25 letters of the papercraft alphabet here.

Here is the template as a PDF file.

P is for Parrot

The parrot is once again an easy template, except maybe for the curvature of the beak. Very importantly, don’t forget to glue a small weight into the base – such as a small coin. Otherwise, the parrot will fall over.


Here is how to make the P (the photos are a slightly updated version from the Alphabeticals book): First, glue a small weight (such as a 1 cent coin) to the back of the parrot, from the inside, near the bottom. This will allow the parrot to stand up and not fall over:

P1320440

Next, glue the edge faces to one of the two P sides, following the outline:

P1320443

Finally, close the shape by gluing the remaining P face to the edge.

P1320446

You will find the other 25 letters of the papercraft alphabet here.

Here is the template as a PDF file.

K is for Kangaroo

Technically, this letter is actually two animals – mother kangaroo and her joey in the pouch.

I should warn you that cutting out and assembling this letter is a bit challenging – the parts around the faces are quite small.

You will find the other 25 letters of the papercraft alphabet here.

Here is the template as a PDF file.

F is for Fly

Ok, I admit I had struggled a bit with the animal for the letter F. Flies are not exactly my – or, I imagine, most people’s – favourite pet:

No need to even pretend this is cute, but hey – there aren’t too many animal names starting with the letter F both in English and German.

When you build this, it is very important that glue a small weight – such as a cent coin – into the base, otherwise the center of gravity will be too far to the right and will make the fly fall over.

You will find the other 25 letters of the papercraft alphabet here.

Here is the template as a PDF file.

Cubicity model #012 – Crocodile

2012-01-18

At first glance, you might confuse the crocodile with the swamp monster, both being green and somewhat menacing and all. Crocboy, however, would strongly object. He claims to actually be quite a nice and wellbehaving crocodile, who’d never do anybody harm. Big boyscout promise.

Here is the template.

Papercraft toy: A cow

2011-02-27

Ok, this is funy: The post was originally titled ‘A cow named Sue’. I thought I’d give the cow a name, for the sake of reinforcing the anthropomorphization. Fast forward a couple of months later, I look at my web stats and more specifically the referrers. Turns out there were two Google searches for the term ‘a cow named sue’. Hm, strange, I think to myself – rather unlikely that somebody came across the post, vaguely remembers it and looks it up in Google under the exact title.

So I did the Google search myself. Surprise, the first hit is not my post, but rather a childrens’ book. As far as I can tell, I was completely unaware of its existence, let alone its title, but somehow it must have crept into my subconscious. The other explanation, that I randomly chose the same – rather randomly picked – name for my cow as Penny Wolf, the author of ‘A cow named Sue’, seems too improbable. Or maybe, there is an archetype hardwired into the human brain… I am sure if you dig deep enough, some Phoenecian god of fertility with a bovine head had a name phonetically vaguely similar to ‘Sue’. Oh well…

Anyway, the cow formerly known as Sue is a happy cow. She really is. She may look a bit wideeyed and startled, but she is completely happy. Trust me.

Here she is standing on her template sheet:

Turn around:

Good girl!

As you can see, I messed up when I constructed the model – I got some water on her face, blotting the inkjet ink. Feel free to do better…

And here is the template (see also instructions here):

Paper Panda

2011-02-21

Who wouldn’t agree that pandas are the most adorable of all huge, vicious animals capable of killing man with one stroke of their paw? Well, and exactly for this reason I have created a panda paper model.

This model features a number of rounded shapes, and therefore is actually quite tricky to assemble. It takes some patience to create a clean version, and unfortunately you can tell from the images that I just don’t have that kind of patience.

If you achieve a better quality, I’d be pleased to see photos and put them up here. The model sure has some potential, and I’d love to see it shine.

Here is the PDF template.

So I hear you want to make a dog

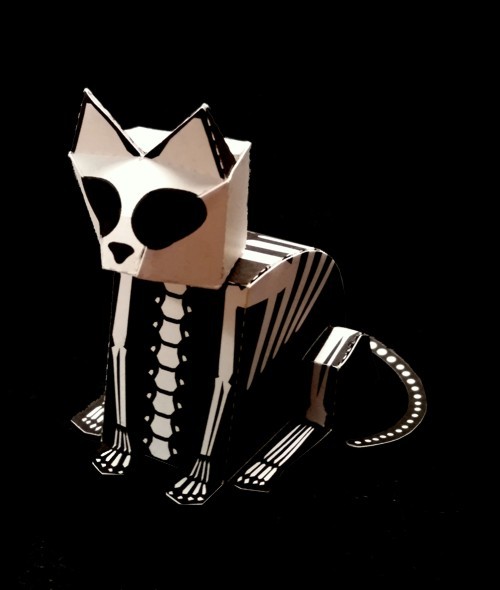
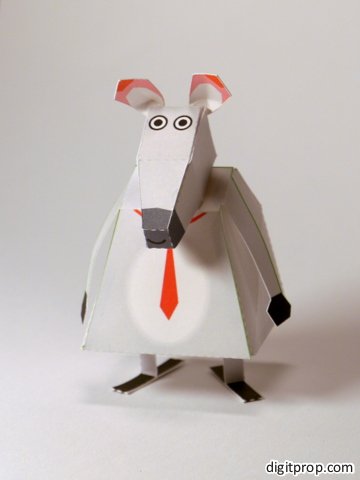
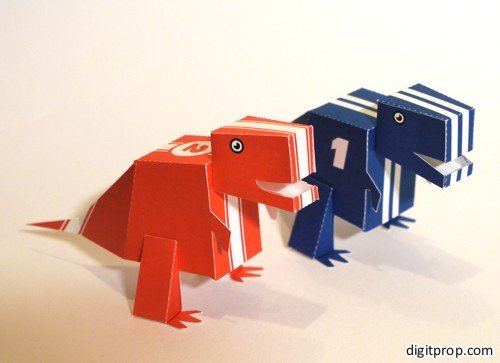
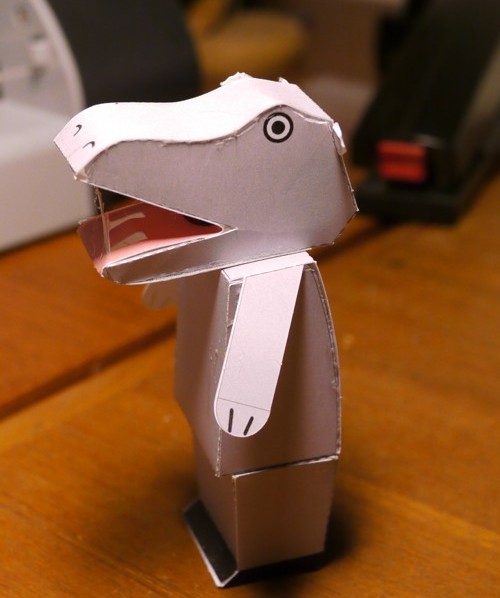
Well, you’ve sure come to the right place. Here is a dog you can make quickly from a sheet of paper. It’s bipedal. though, so technically it’s more a dog deity than a mere mortal dog. But hey, what’s not to like about man’s best friend taking the next evolutionary step?

Ok, this puppy is easy to assemble. Just download the template, print it out (I recommend sturdy >190g/sqm paper), and cut out the three parts. Preferrably with a sharp knife – think Xacto. Then glue them together, following the letter-code hints on the flaps.

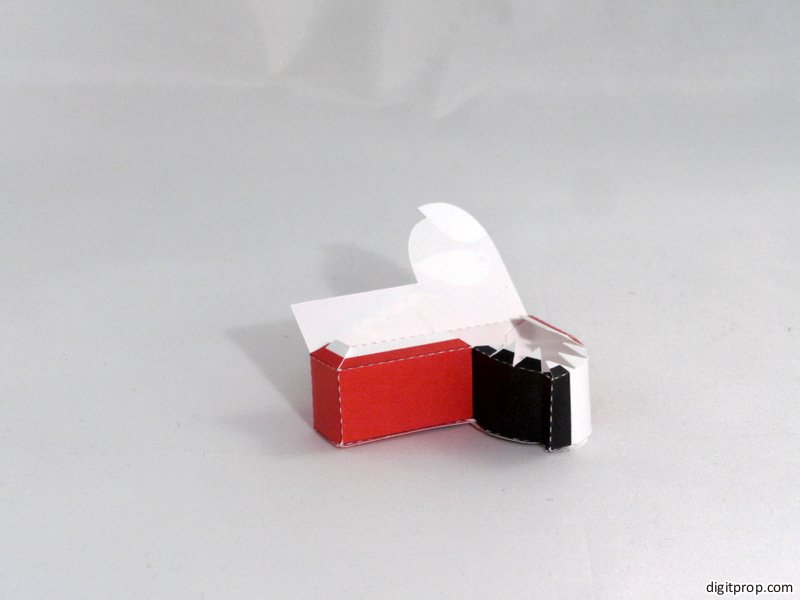
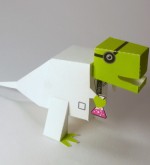
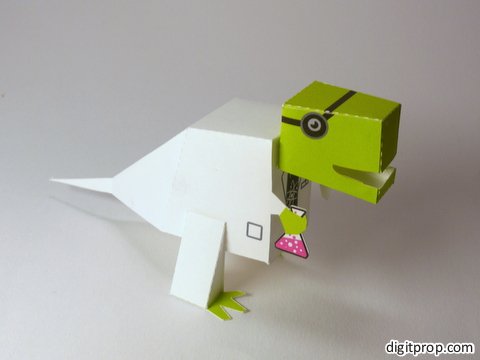
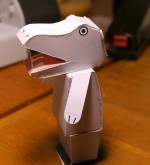
Here is what you will get once you have cut out all three parts. These are already roughly folded into their final shape, and now need to be assembled using some glue.

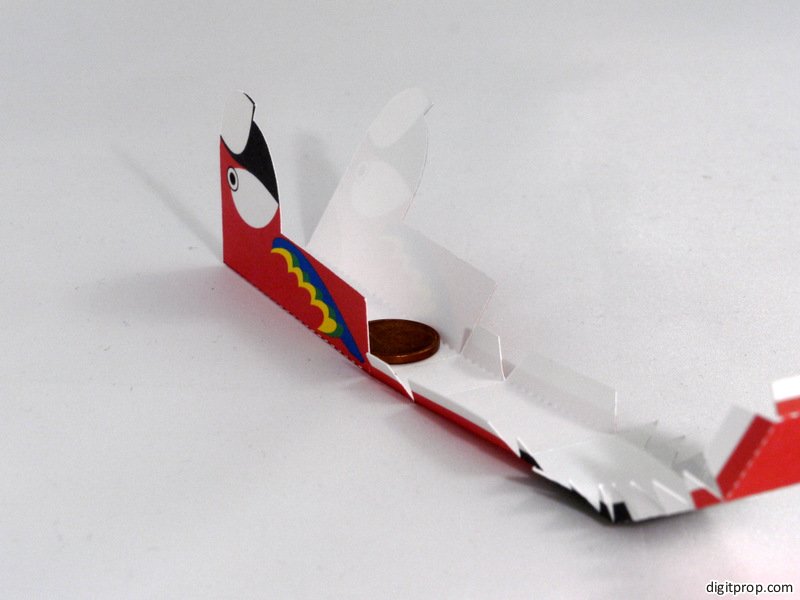
Since this is made of paper and is hollow, it tends to fall over easily. To fix this, I recommend adding a weight to the base. This can be a small coin, like so:

It’s a good idea to glue the weight to the base and in addition secure it with a piece of tape:

Trust me, experience has shown that the weight gets loose all too easily, and turns your dog into a rattle where the coin bounces around inside the hollow base. Which would not be so bad, but it defeats the purpose of the weight, and a bipedal dog falling flat on its face all the time is, well, a bit sad.

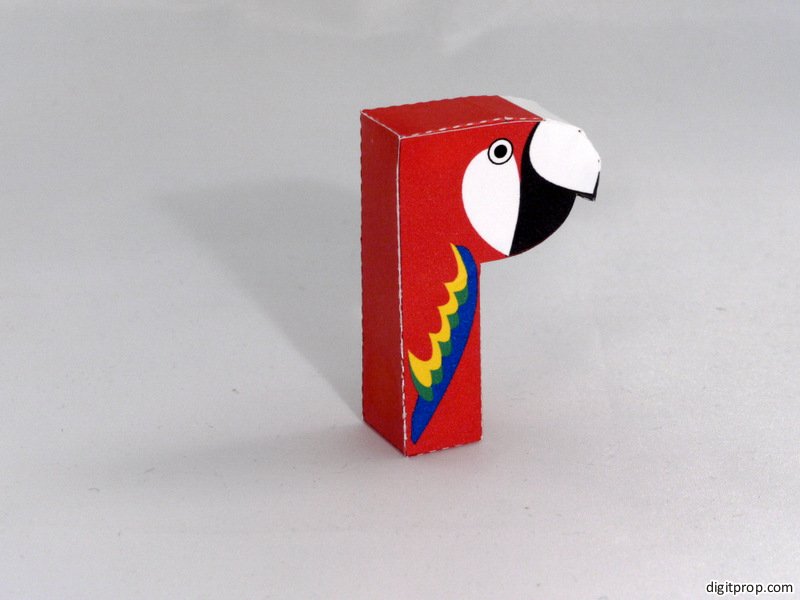
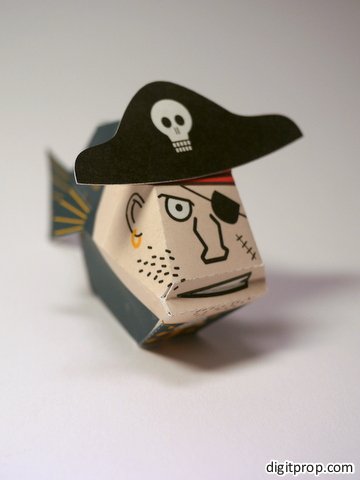
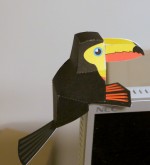
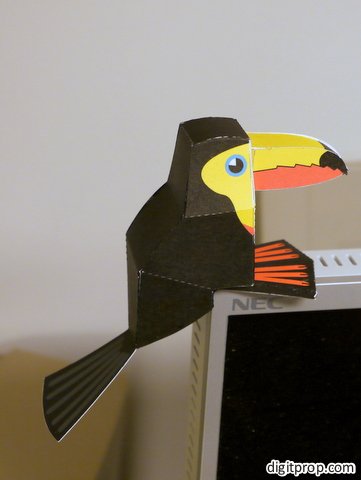
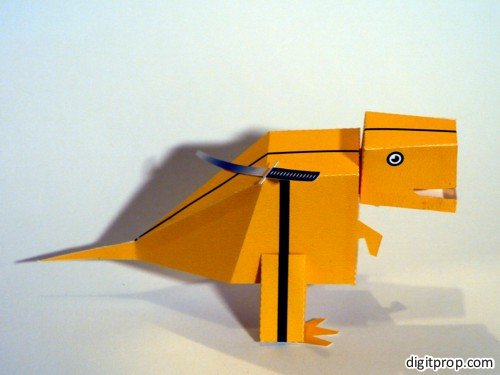
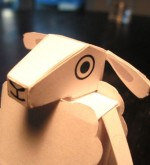
Here is a close-up of our doggy:

And here is the template (see also instructions here):