Tutorial: How to build the stegosaurus calendar
Here is a quick photo tutorial for those of you who want to build the stegosaurus calendar.
Very importantly, make sure that you use thick enough cardboard. Something in the range of 300 g/sqm is fine. If the cardboard / paper is too light, the model will easily warp and the cards may no longer fit.
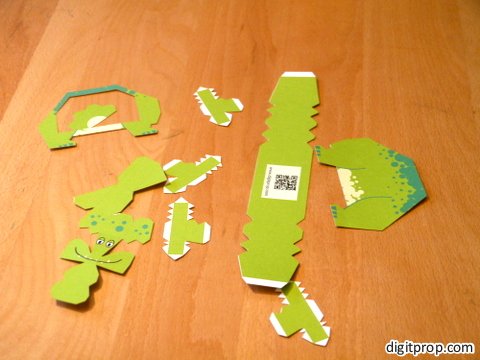
Start with cutting out all parts: Note that there is one part (for the tail) which is inside the right side part. It’s highly recommended to use an X-acto or similar crafts knife.
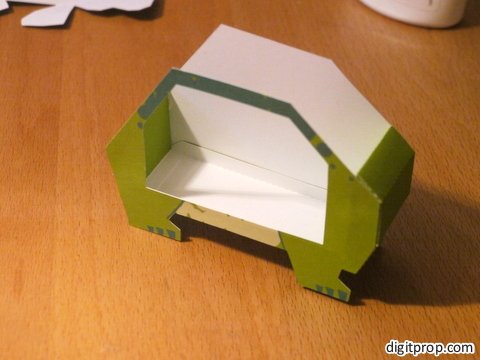
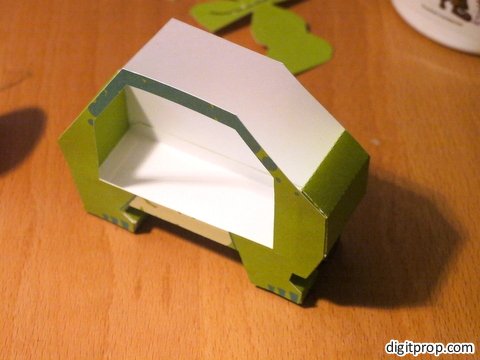
Next, fold the long center piece and glue it to the side with the “window”. Make sure that the walls are parallel and leave enough space for the cards.
Attach the other side:
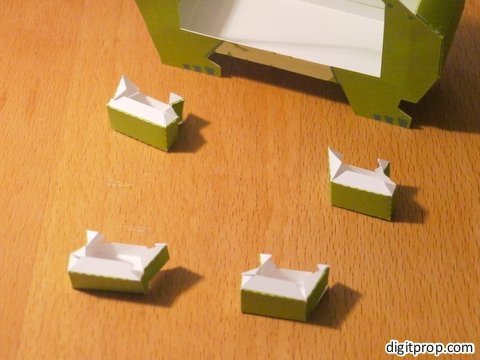
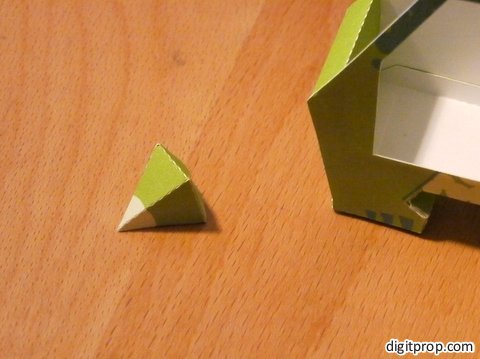
Next, assemble the four feet:
… and glue them to the body:
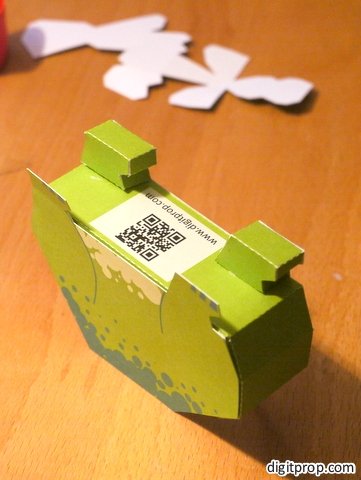
Then attach the tail:
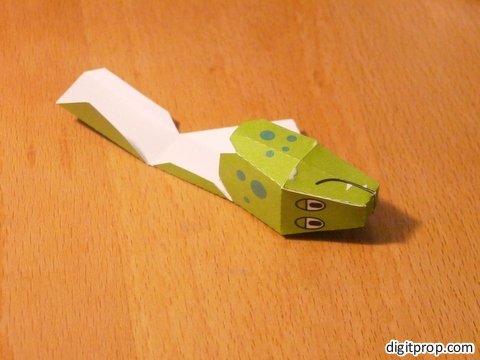
Now on to the head: This looks more complicated than it is. First, before you start assembling the head, cut a slit where the mouth is.
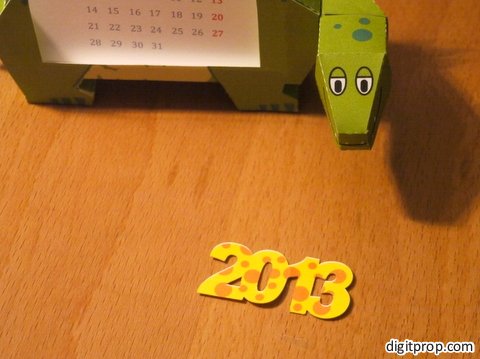
If you are a perfectionist and have a good knife, you can cut out the year and put it into the dinosaur’s mouth:
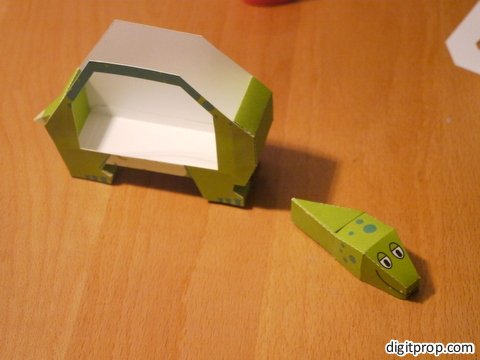
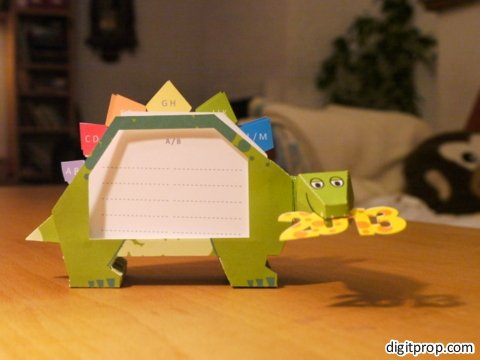
… and you’re done:
Here is the link to the original template.
 This work is licensed under a Creative Commons Attribution-NonCommercial-NoDerivatives 4.0 International License. For more details on what you can and cannot do with my work, see here.


Great Calendar. Please print more things like this. Great instruction.
I have created your calender. It is nice and good idea.. Wish you may get more idea like these…. thnks
Found your website today and THANK YOU! I should have been cleaning up my craft room but instead I have a wonderful 2013 Stegosaurus calendar on my desk!!! I love it!!!