Maneki Neko – Lucky cat
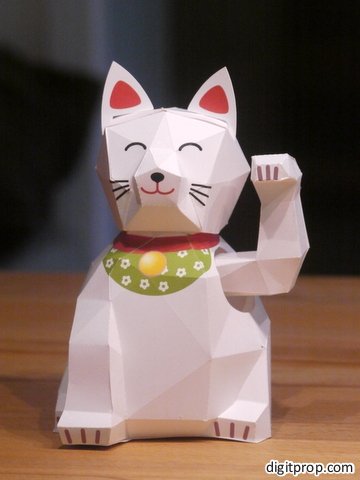
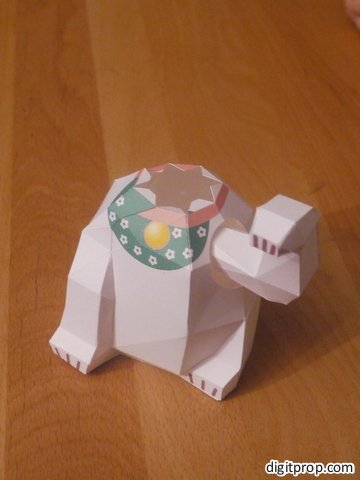
Finally a new model, and frankly one that I’m a bit proud of – after all, it did require quite some work to get it right in the end. And it’s my first one with movable parts. It’s a lucky or beckoning cat, popular in Japan and China (where I got the inspiration, when I was travelling there).
The beckoning cat is supposed to bring luck and wealth. This one can actually move its arm. Here is a video:
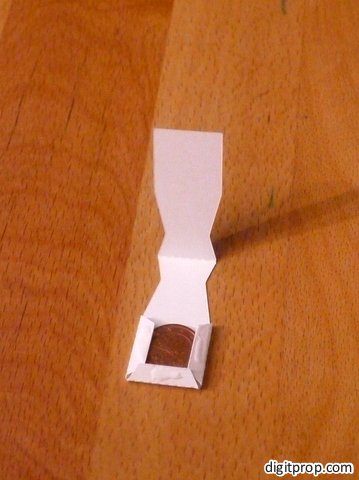
The underlying mechanism is actually quite simple and consists mainly of a small paper pendulum with a coin as weight.
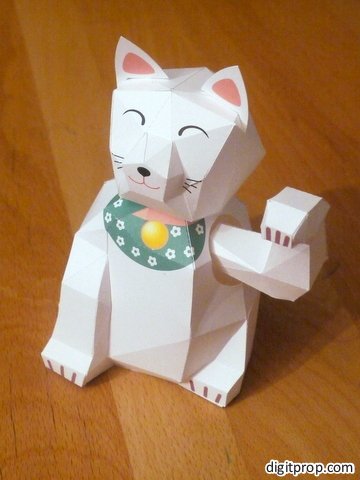
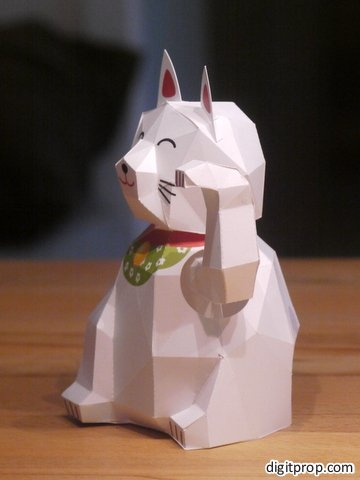
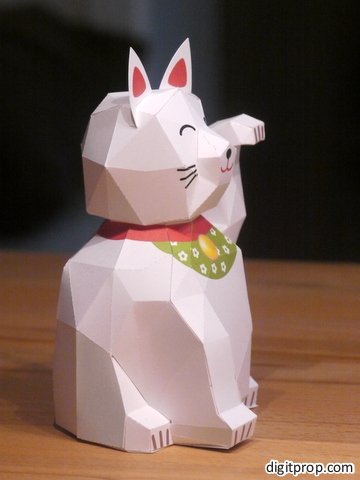
Here are some more pics of the assembled cat:
I have to admit this was the most difficult model to design so far, and it is quite tricky to build – especially the mechanism for the arm. You have to pay attention to allow the arm to rotate freely. Any friction will cause it to stop rocking back and forth.
In addition, the whole model is a bit complex for beginners, and it is important to build everything in the right order – otherwise you may paint yourself into a corner. Here is a photo tutorial:
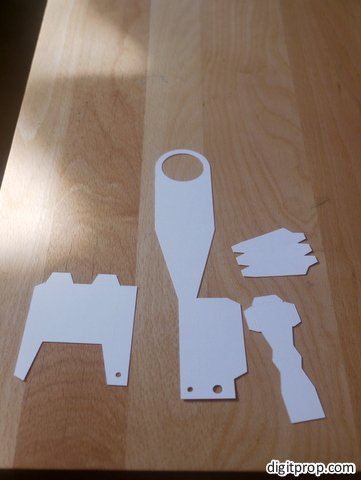
Start with the mechanism for the arm. In order to keep things nice and clean, this is a standalone contraption that later goes inside the actual cat body. Here are the parts:
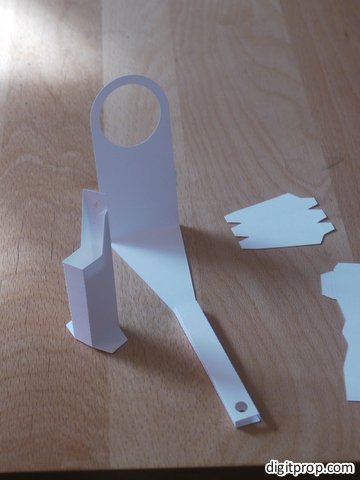
First, build a holder:
Now assemble the left arm. The arm is a bit complicated, therefore I have made a video tutorial for it:
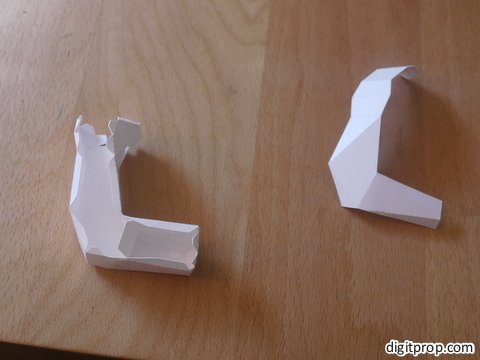
Begin by putting together three sides of the arm, but leave one side open yet:
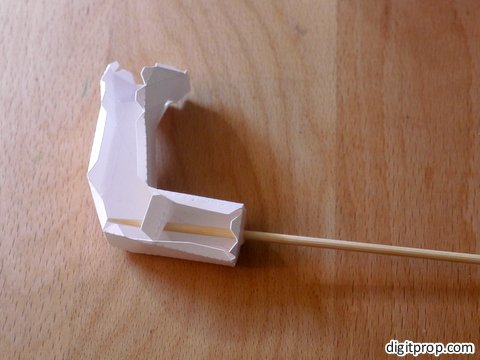
There is a small square with a hole in the middle. This goes into the upper arm and is intended for holding and stabilizing the stick that later will hold the arm in place. Take a wooden stick about3 mm in diameter, wooden skewers are perfect. Insert it carefully into the arm, like so:
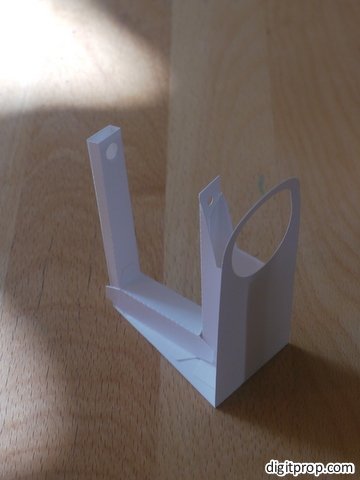
Now glue the missing face to the arm. Then insert it carefully into the holder:
Make sure it rotates freely, without any friction. Shorten the skewer so that it is a bit longer than the holder. If it is too long, it will not fit into the body, so be careful.
Next, assemble the head:
First, take the largest part and glue it into a helmet shape:
Now take the two smaller parts and glue them together. This will form the face:
Now glue the face into the “helmet”, and finally close the head with the bottom part. Then attach the ears:
Ok, onto the final part – the body. In a first step, build the front half only, starting with these parts for the right side and hind leg:
Continue with the front:
… and add the left side, which includes the hole for the left arm. You will end up with something like a hemisphere:
Now glue this hemisphere onto the base plate:
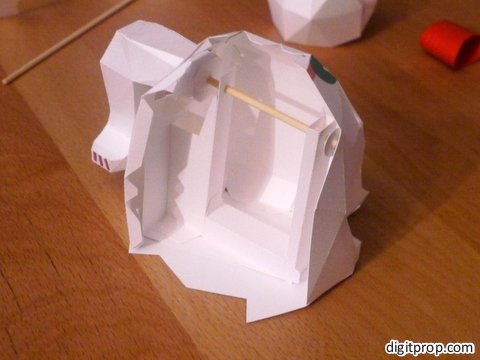
Now place the holder for the arm into the body. Align the ring with the hole for the arm, then glue the holder to the base plate and the ring to the hole – this will ensure that the arm is firmly centered in the hole.
Now you can insert the arm:
Ensure that the arm can rotate freely. Then lock the skewer in place by glueing the small disk to the end. Now it’s time to attach the pendulum weight. You will need a small coin as a weight:
Make sure that the arm is in the right position (upwards) when the weight is attached. Also, test that everything works smoothly. The arm should swing back and forth when you tip it.
If everything is ok, you can glue the backside in place:
Alright – almost there. The only thing left is to attach the head, and you are done:
Here is the template:
By the way, there are Maneki Nekos with either the left or right arm up. The significance is not universally clear, but if you want a cat with the right arm up, you can print out the templates mirrored. Most printer drivers allow for this option, sometimes called ‘T shirt transfer’.
If you don’t have the time and/or patience to build a lucky cat yourself, you can buy one ready-made from my Etsy shop.
 This work is licensed under a Creative Commons Attribution-NonCommercial-NoDerivatives 4.0 International License. For more details on what you can and cannot do with my work, see here.


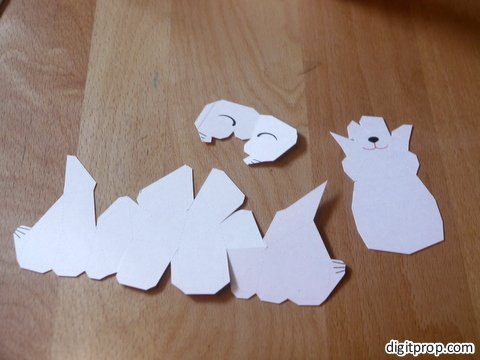

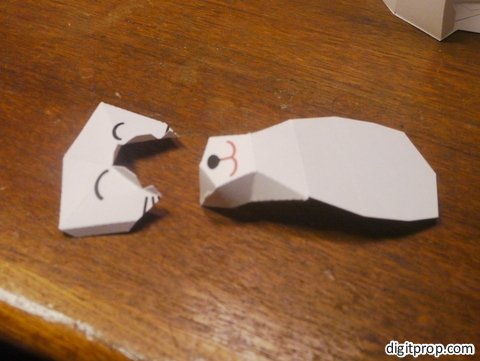
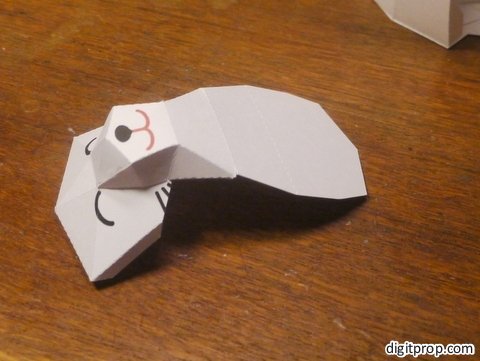
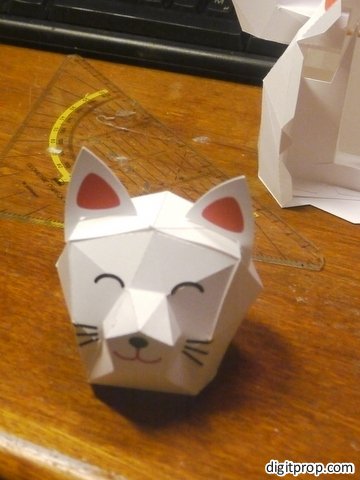
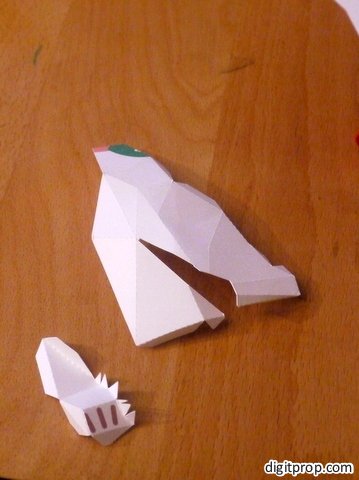
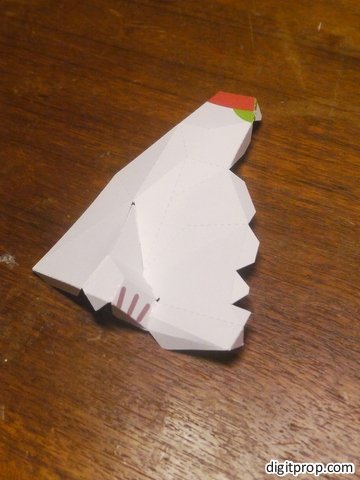

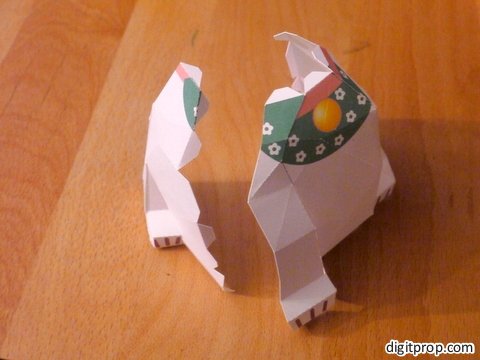
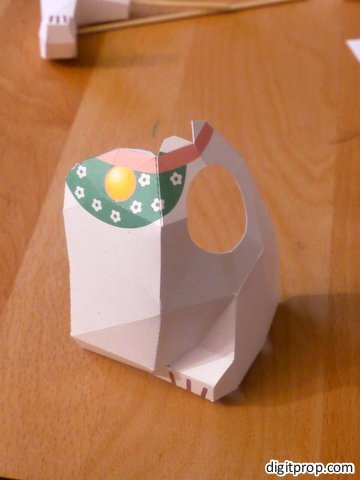
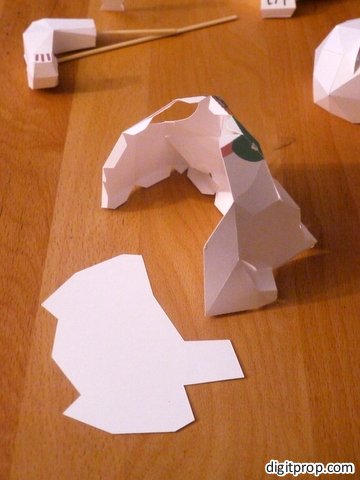
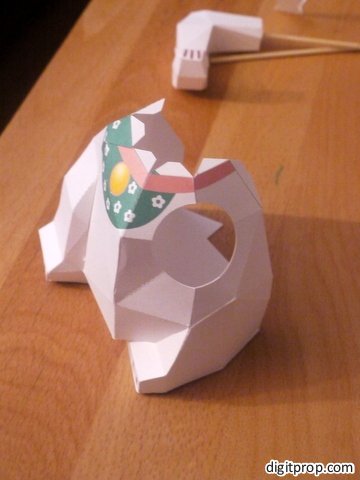
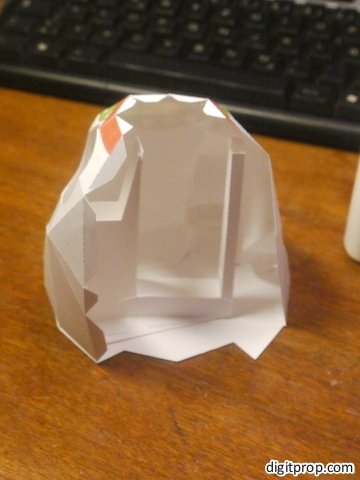


i love it and that is why i made one for myself, but i dont like that face it has, so i had to remove it. Now it is sitting on my window all nice and polygonal <3
Thanks – a bit disappointed that you didn’t like the face, but I admit that style is not to everybody’s taste. A plain version will certainly look nice as well.
Hi, and thank you for sharing this awesome project!
How tall is the cat ultimately, and the frame? And do you think if I were to try to make the project simpler for kids that a foam arm which they carve themselves would be too heavy, and that a heavier coin (or maybe coin battery?) would then be necessary to act as the pendulum weight?
Thanks!
Hi Rebecca, the cat is app. 16cm (6.3″) tall and 11cm(4.3″) wide and deep. As for the foam arm, that might actually work. I would try to test it beforehand – you can build just the internal part which holds the arm and weight and see whether it can balance the arm. I’d expect the weight to have to be slightly heavier – as you say, a larger coin or two coins could work.
Unfortunately, it would still be a complicated project. For kids younger than, say, around 12 years, it would require above average dedication and perseverance.
i loved the other cat as well, it’s a great idea to made a blank one for your daughter.
Did she loved it?
and you are awesome to make this cat really moveable.
One mark some people have to make a picture the other way in there digi photocamera as well this in their programme and too with a scanner in the software.
But i ‘m grateful that you have shared this.
thank you!
Pingback: For the Cats - Page 39 - PaperModelers.com
what kind of paper did you use can you use normal printer paper or it has to be thicher one?
For this model, normal printer paper will not do. It’s not sturdy enough for the movable parts. I recommend 190-300g/sqm paper. For more info, see this blog entry.
Thank you so much! I did finally print it correctly! This will be my boyfriends birthday present (: now, I have one more request… is there any way you could show a picture on just assembling the free-moving paw more? That is the only thing I have confusion with… I’ve made a few of your other projects and they have turned out great! This one is the most challenging I’ve attempted yet!
Hi Haley, yes, the movable arm is a bit complicated. I have actually recorded a video showing how to build the arm. The video can be found here (and is included in the original blog post).
Markus, I’m desperately trying to make this, but I’m having problems printing… on the body pages, my printer cuts off the very bottom portion. Do you know any way I could fix this? I’m not very tech savvy, so I’m out of ideas. Thanks in advance!
Hi Haley, you probably use a different paper format than A4 – most likely US letter. What you need to do is to scale the pages to fit the print paper size. How exactly you can do that depends on what computer and program you use. If you use Adobe Reader to open and print the PDF files, here is a description on what to do.
Yes, I am using adobe. Any tips on how to do that? I just have an Asus laptop. Thank you in advance for the help (: sorry I am not more experienced in this!
Ok, no problem: Prompted by your question, I have written instructions for printing A4 templates on US letter paper. Here is the link. Good luck with making the cat!
Markus,
I finally finished the Lucky Cat. It was a challenge, but it turned out terrific. I gave it to my daughter for her birthday and she was thrilled. Your projects are sensational and fun to make. Thank you very much for sharing them with us.
M.M.
Congratulations on finishing the cat! It’s indeed challenging. I have made quite a number of these, but whenever I start anew and it’s been a while, I struggle a bit myself. Glad your daughter liked it!
You’re a genius, love it. thank you for the sharing and the great tute;-D
Thank you, Markus! How nice you included the little video – waving right back at you. :) I just shared your link with my Facebook group.
Thanks for sharing!!
Pingback: Gato de la fortuna a.k.a. Maneki Neko | Patucha Bhoot
Adorable! thank you!
wow,that looks amazing!! i bet it was a big job to design it, well done:)