

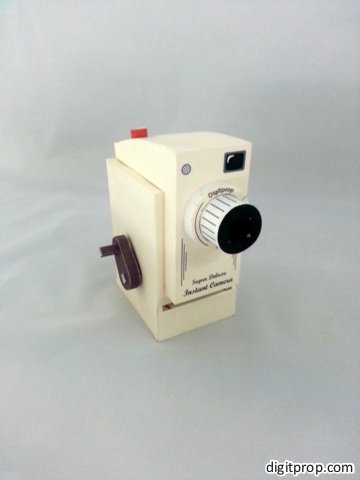
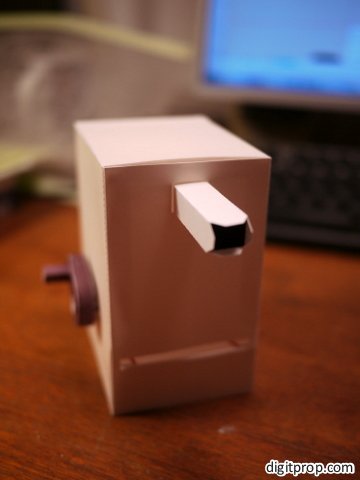
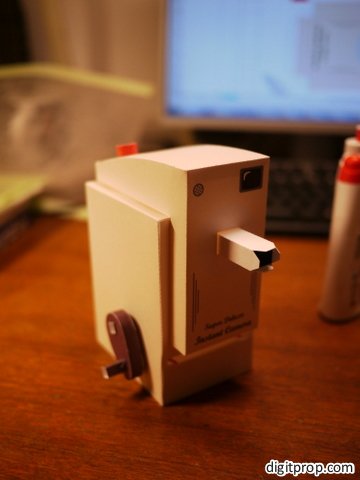
Here is a kind of ‘interactive’ model and actually quite a nice toy: A ‘working’ instant camera made from paper:
So, what do I mean by working? Well, you can turn the crank on the right-hand side and the camera will output a picture you have taken. The mechanism is robust enough to work with multiple pictures in sequence. Here is a video:

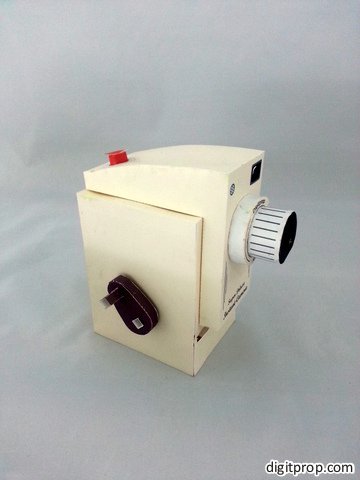
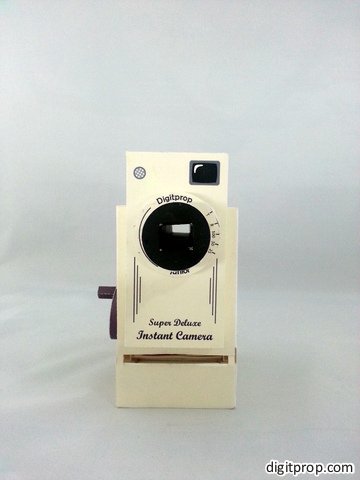
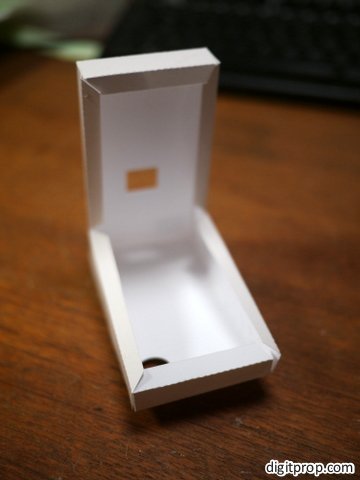
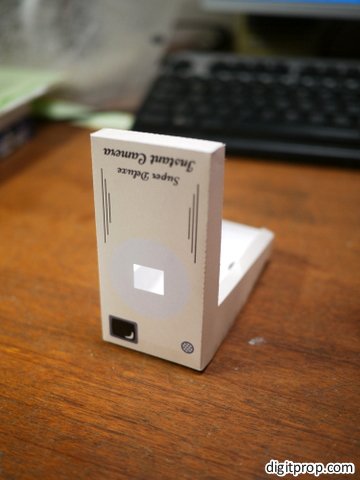
Here are more views of the camera:
The fun thing about this camera is that it inspires children to draw their own collection of pictures. I have provided four samples in the template, but that’s just a starting point:
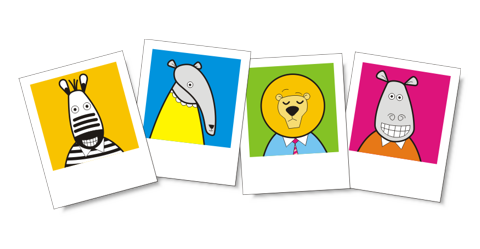
The last page of the template is a set of 12 empty frames, ready for your kid’s creativity.
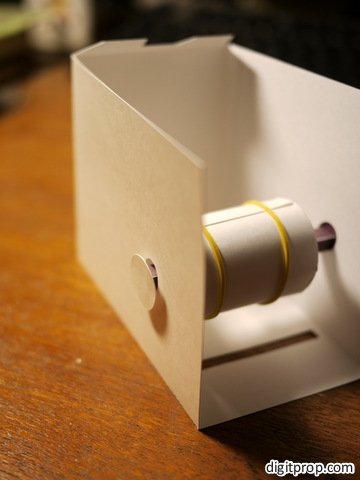
The most tricky part of this model was the picture feeding mechanism. It’s similar to what you find in desktop printers: It uses a barrel which moves the uppermost picture in a deck forward. The other pictures are held back by two fixed rubber strands. This usually works quite well, but not always – so don’t sue me if the camera produces more than one picture at times.
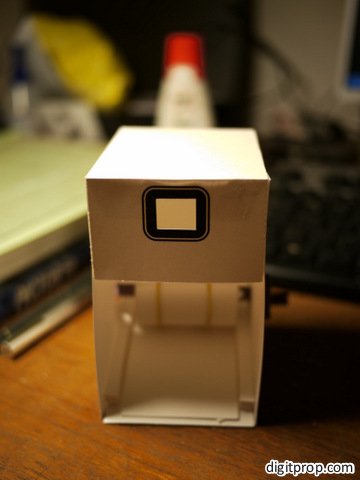
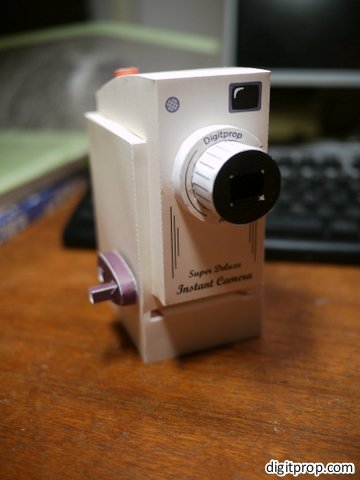
You can actually see through the viewfinder and the ‘lense’. I know this doesn’t make any technical sense, and the view is quite narrow, but kids love it.
Here is how to build this thing: Start by downloading, printing and cutting out the PDF template at the bottom of this page.
First, we will build the bottom of the camera, which will hold the pictures. In order to hold the remaining pictures back in the camera, we will rely on the friction provided by a rubber band. Wrap the rubber around the bottom piece like so:
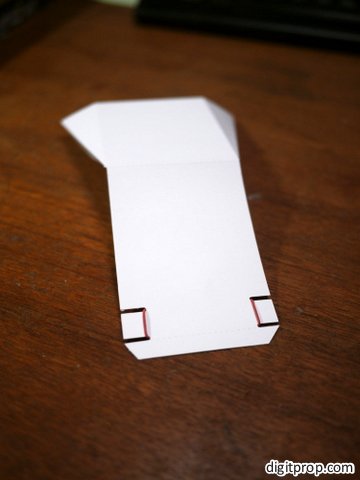
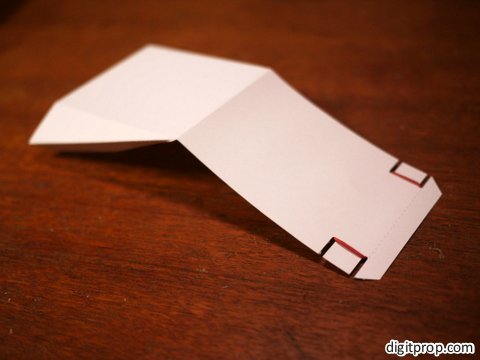
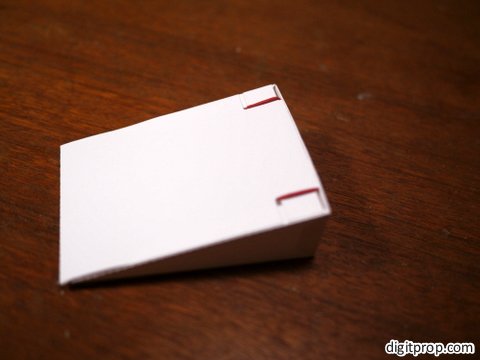
Then glue the piece into a wedge:
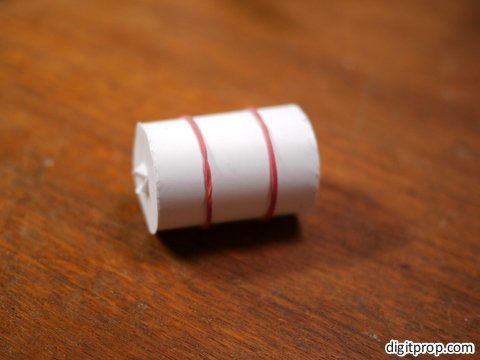
Next is the barrel that moves the uppermost picture forward:
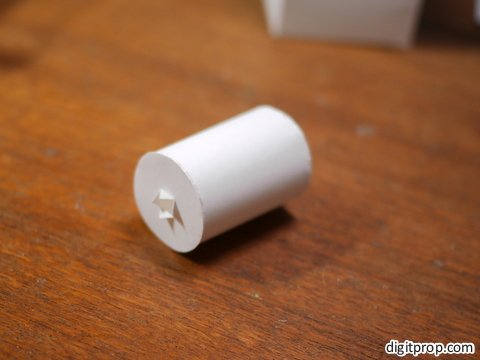
Again, to provide friction, wrap two rubber bands around it:
This will be the axle through the barrel, but don’t put it in there yet:
Next, build the first part of the chassis.
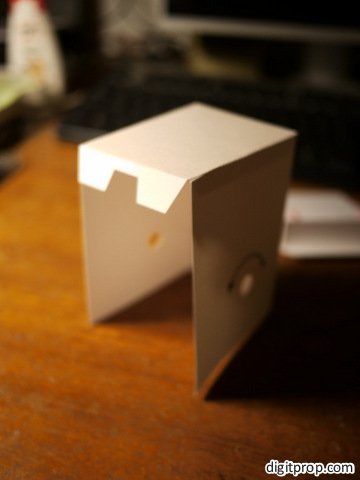
Install the barrel:
Now glue a flap right above the slot and in front of the barrel. This flap will help pictures which are pushed into the slot (when ‘loading’ the camera) to go below the barrel. If it is missing, pictures my accidentally go above the barrel, where they may get stuck:

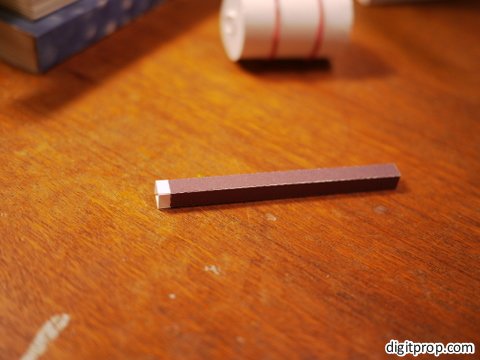
In order to provide guidance for the pictures, glue two square struts to the left and right side:
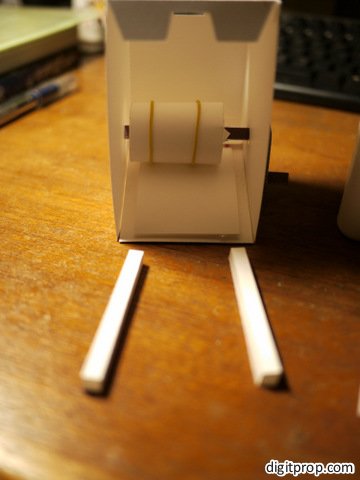
Also, we need a little bit of pressure, in order to push the pictures against the drum. Not too much, though, or the pictures will jam or eject in a bunch. We achieve this by glueing a strip folded in half to the bottom of the camera. Just glue the bottom side of the strip to the ‘wedge’, but don’t put glue inside the fold.

Your camera may require more or less pressure. You can increase the pressure by glueing in additional layers of paper until there is enough friction for the barrel to eject the pictures.
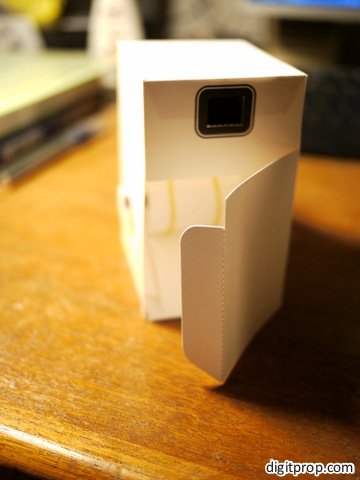
Now it’s time to glue in the door, which can later be used to resolve paper jams:
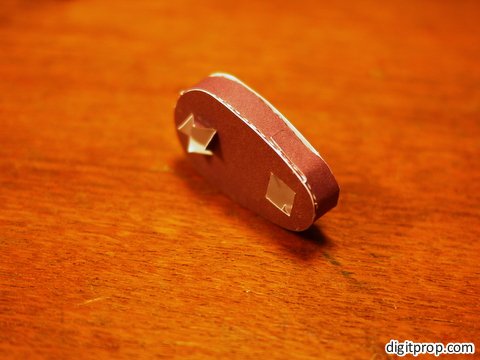
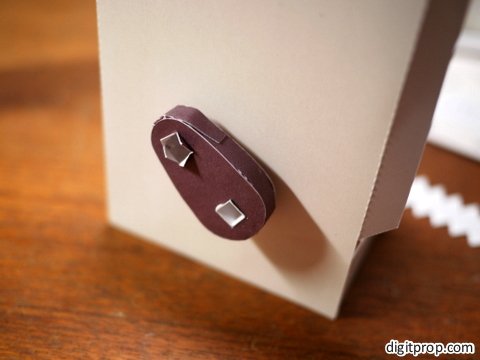
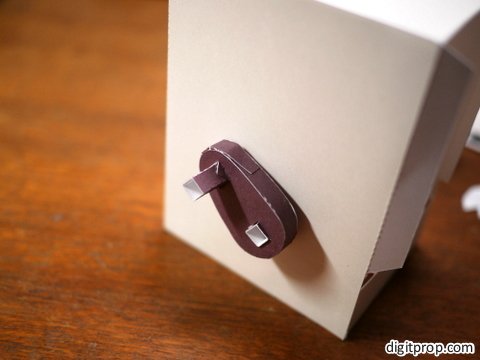
Time to build the crank:

Now onto the view finder: This is a square tube. Fold it so that the black side is inside:
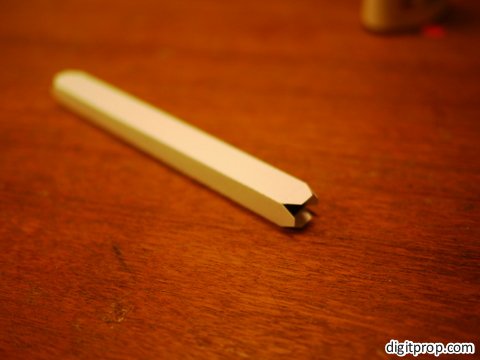
Glue it into the camera so that it protrudes from the front side:
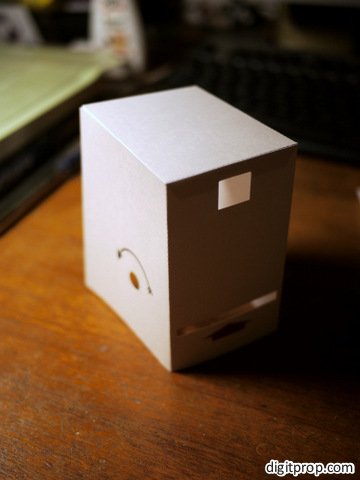
Now comes the second part of the chassis, which will also house the shutter button:
As for the button, we use a zig-zag ‘spring’ to push it up. This is how it will be arranged in the final assembly, but don’t glue the button to the spring. Instead, glue the little box with the spring to the inside of the chassis, right below the hole for the shutter button, then glue the button to the spring from outside the chassis. The button has a larger diameter ‘lid’, so as to prevent it from disappearing (or getting stuck) in the hole.
Now attach the second part of the chassis to the camera, sticking the view finder tube through it:
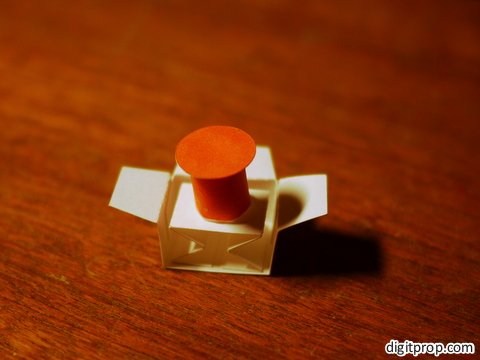
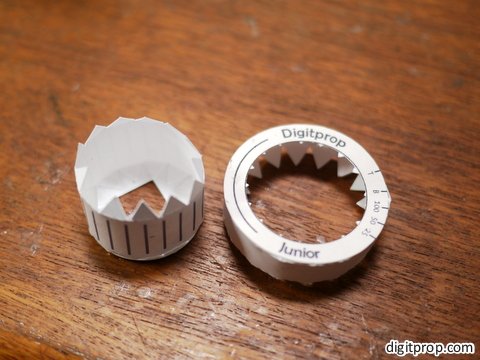
Looks almost finished, right? The only piece missing is the lense. It’s made from three parts, two cylinders and a ring:
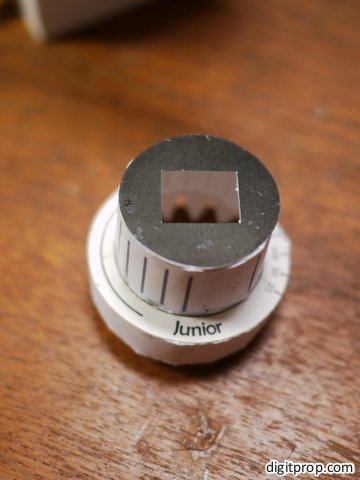
Glue the lense to the front of the camera as well as to the view finder, and you are done:
A gentle warning on usage: Don’t load too many pictures at once into the camera. Four to six is ok, significantly more will harm the camera and/or lead to jamming.
Here is the template: