
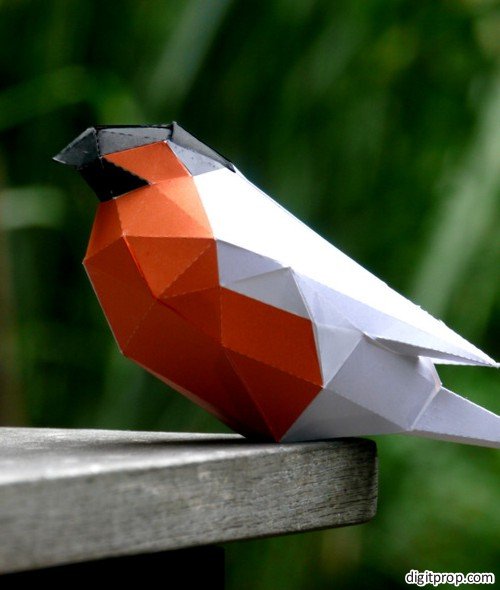
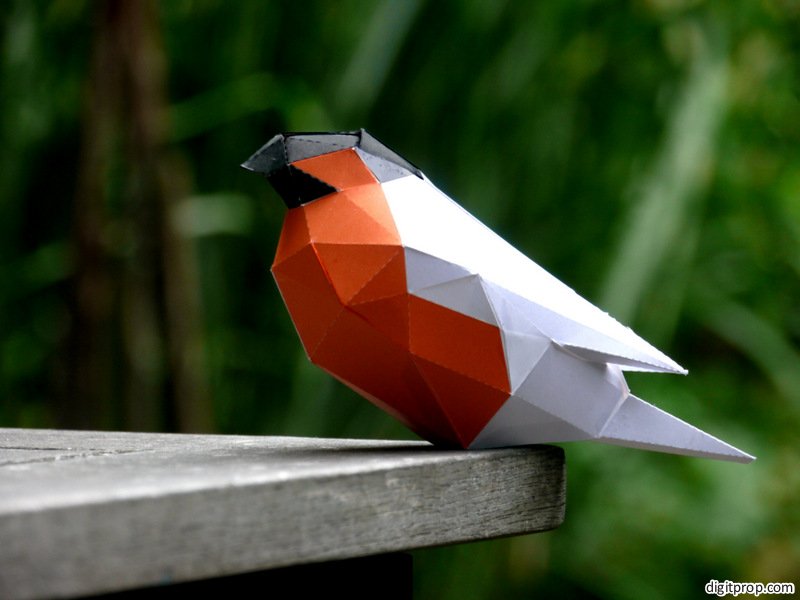
Low poly design is quite popular these days. Luckily, it’s actually not that difficult to do, since it effectively is the reduction of complex forms into something much simpler and a bit abstract. This is why last weekend I set out to doing a low-poly bullfinch:
For my German readers: Den Dompfaff gibt’s auch auf Deutsch auf knisterkiste.com.
At the bottom of this post, you will find a template for building your own – it’s roughly the same size as the actual bird, so it will make for a nice decoration inside the house. I have to warn you, though: Low-poly does not mean that it is easy to build. In fact, with all the different angles and especially the pointed wings and small beak, it takes some patience. And the template is admittedly quite confusing. It’s the best I can do though, as the model itself requires a template that is significantly more complex than more straightforward, ‘square’ papercraft projects.
Anyway, if you are still reading, you may have the courage it takes to actually do this project. Here are instructions:
The template is numbered. Carefully assemble it by glueing the flaps in the order in which they are numbered. Even with the numbering, it’s sometimes a bit difficult to figure out where the opposite side for a flap is. Keep the template PDF open (or a second printout at hand) while assembling.
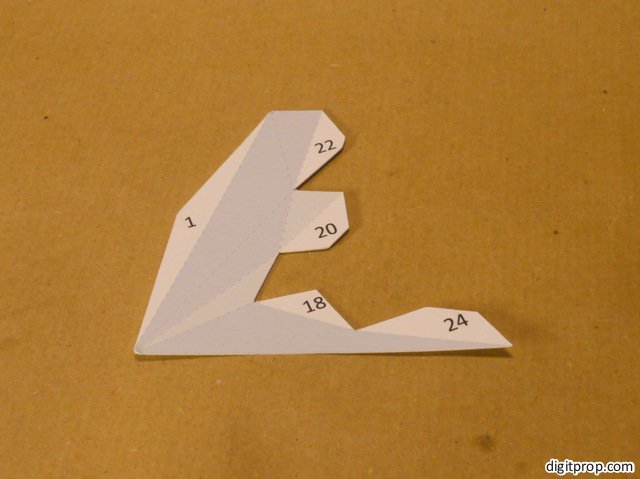
Start with the left wing:

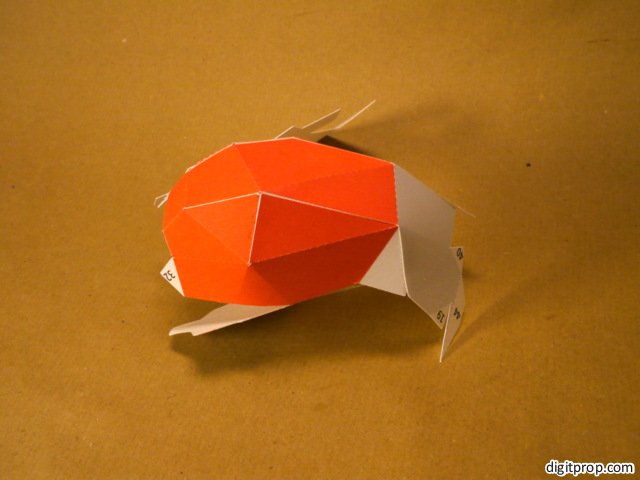
Next, the lower part of the body:

This is the right wing which will be formed by glueing flap no. 10 into place:
This is what it will look like from below:

Now follow the flaps in the numbered order:
The bird slowly takes shape:
This is the tail and uppermost part of the body:

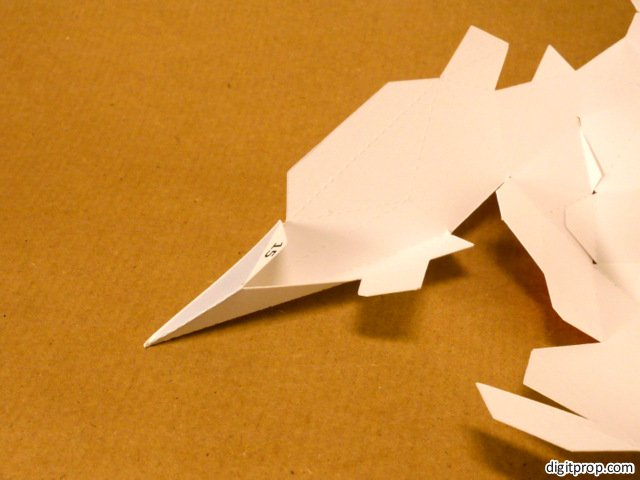
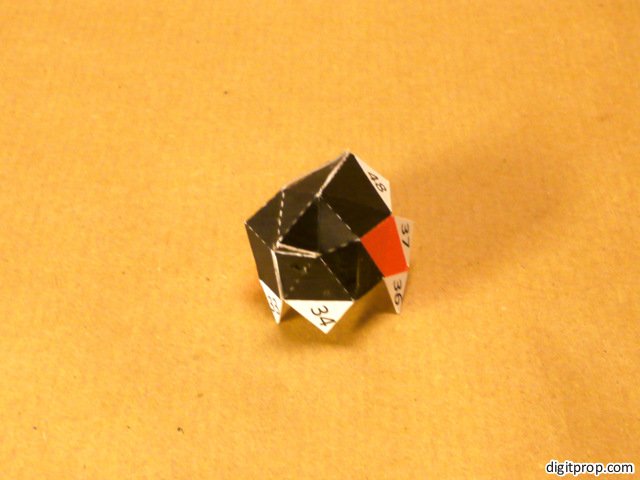
Next comes the head. This is a bit tricky because of the small size of the faces. Start with no. 27 which will form the beak, then follow the numbers:

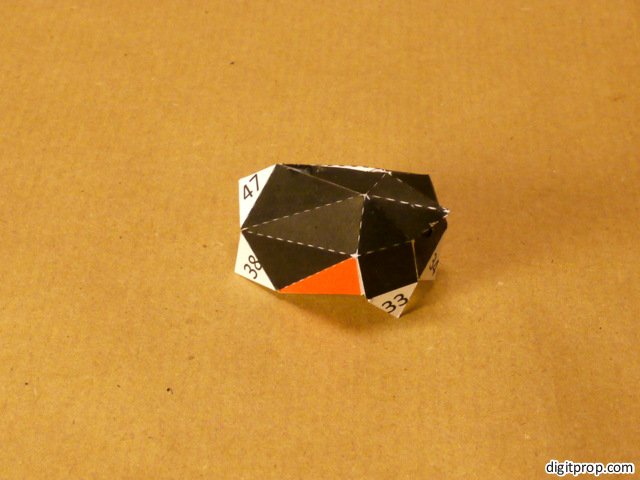
This is the head from the front:
And from the side, with the beak pointing to the right:
Now attach the head to the body:
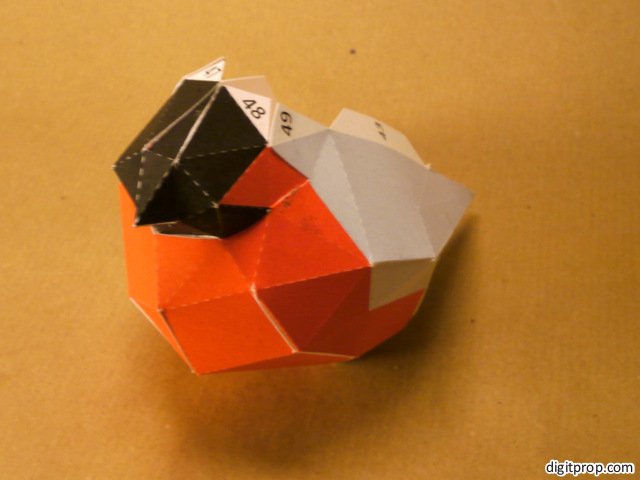
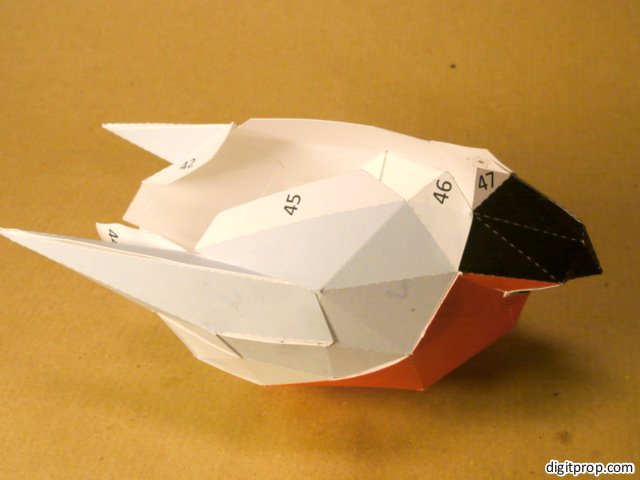
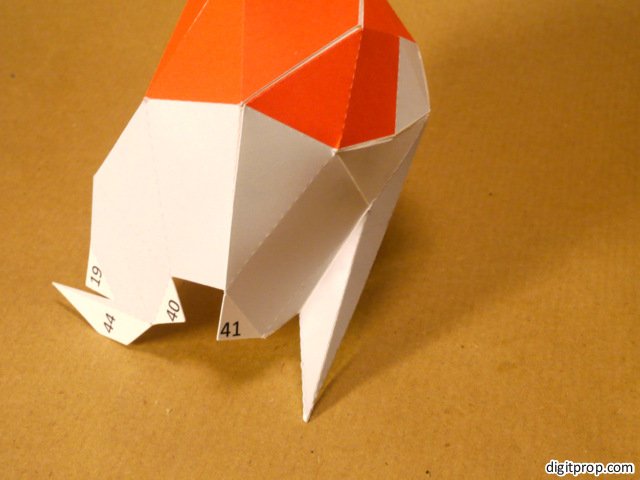
Now attach the tail, using flaps 39, 40, and 41:

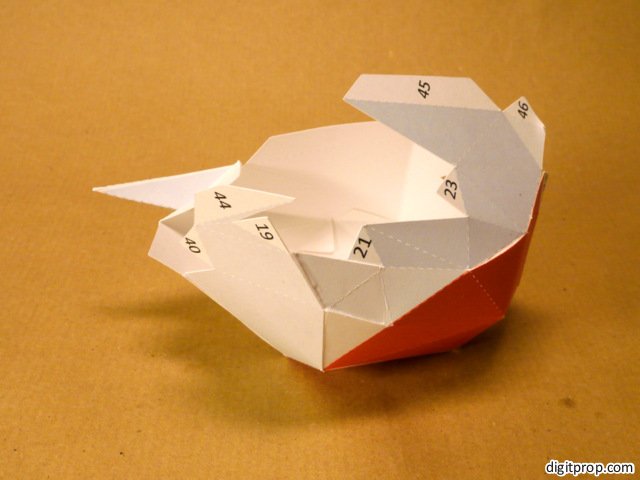
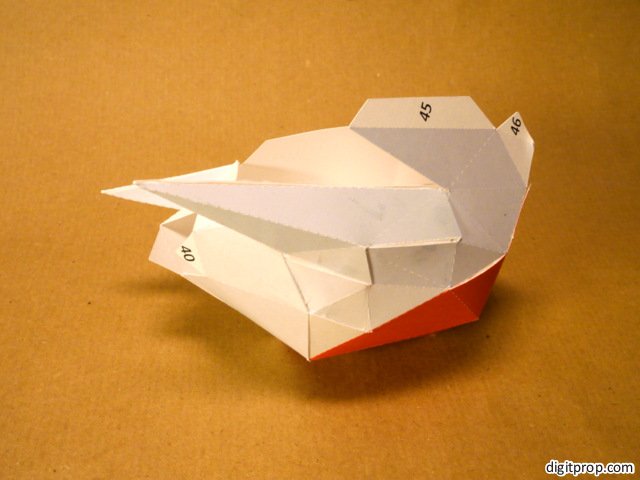
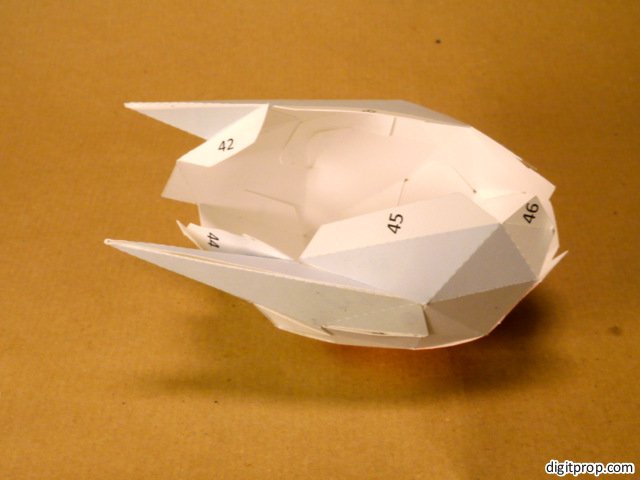
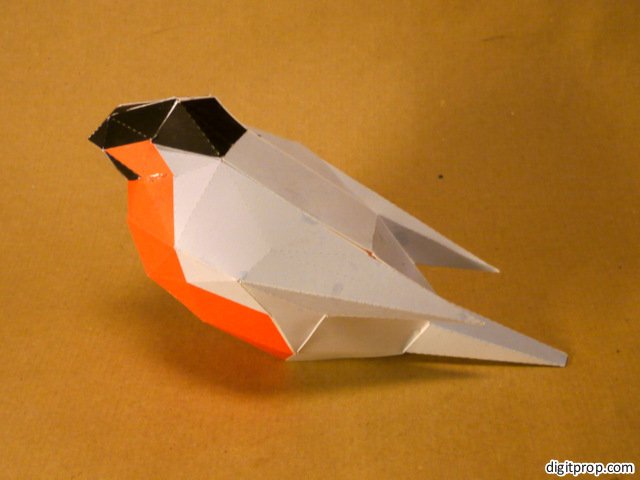
Then, finally, close the body by glueing on the remaining strip. Be patient and wait until the glue sets for each flap:
Here is the PDF template: