K’s toy horse
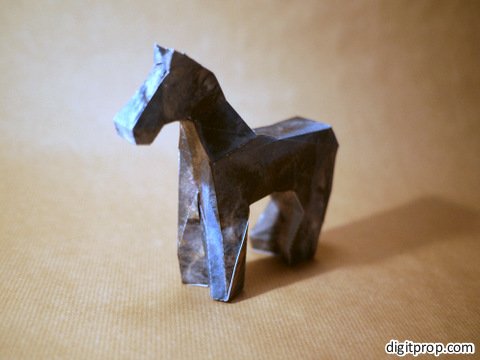
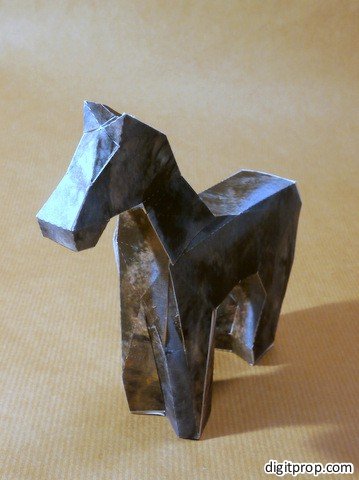
Now, here is something for scifi movie aficionados: K’s toy horse from Blade Runner 2049:


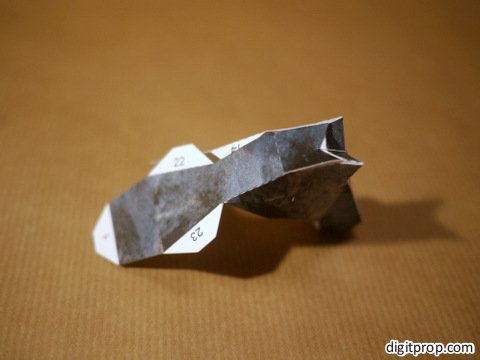
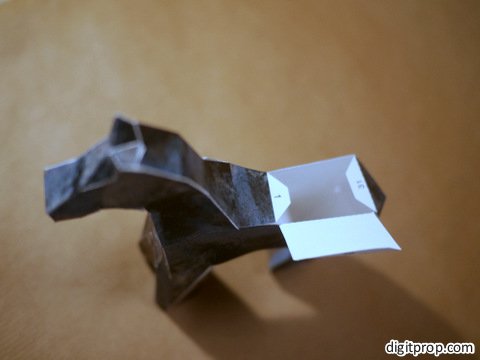
And here is the infamous inscription of the date 6/10/21:

When Blade Runner 2049 came out, i was both excited and skeptical. Excited because of course am I a big fan of the original Blade Runner, and skeptical because most Hollywood sequels / prequels / remakes are utter failures – especially when being made after such a long time.
Anyway, turns out Blade Runner 2049 is a fantastic movie. It may not break entirely new ground story wise, but the story holds up well enough, and the atmosphere, world building and characters are amazing.
One particularly iconic and memorable scene is the one where K recounts a memory revolving around a wooden toy horse. So I set out to build one from paper.
At the bottom of the page, you will find the printable PDF template. Now, I tried to simplify the overall shape as much as possible, but it still is a difficult model. That’s why I created a photo and video tutorial.
Here is the video tutorial:
And here is the photo tutorial:
First, a few general remarks: The flaps are numbered, but they are not to be glued in sequential order. Instead, follow the instructions below. Also, there are actually two template versions, one with blank (white) flaps, and one with colored flaps, where the texture of the model faces continues onto the flaps. The latter is more difficult to assemble, of course, since the numbers are not very readable. However, it looks much better than the white flaps version, as there are not white edges showing.
I suggest using the version with colored flaps and use a printout of the white flaps version for reference. Also, you can use a dark brown / gray felt tip marker to color the remaining white edges in the final model.
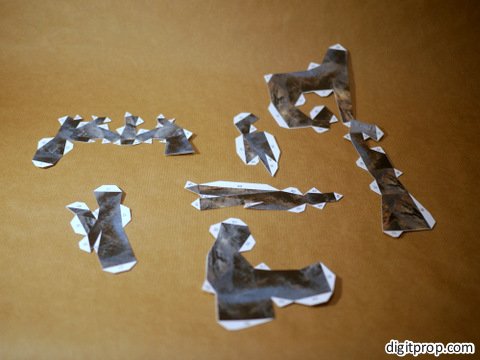
Now, let’s start: You begin by printing the template, cutting out the seven pieces and scoring along the dashed lines.
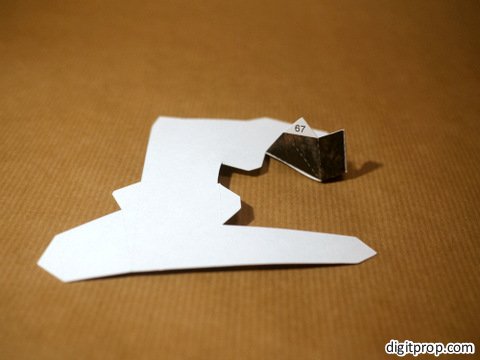
Next, start with the large piece that will become the left side of the horse (the one containing flap #66): Glue flap #66 to the corresponding face.
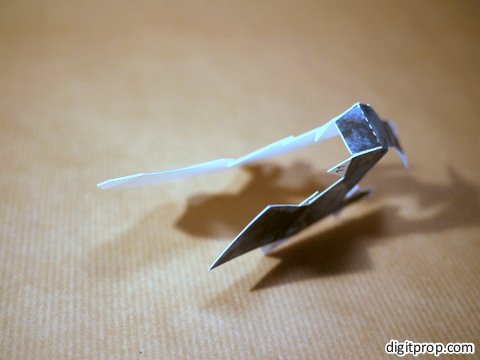
Next, attach the long piece which includes the bottom of the hind legs with the date on it. Glue on flaps #32, #39, and #65:
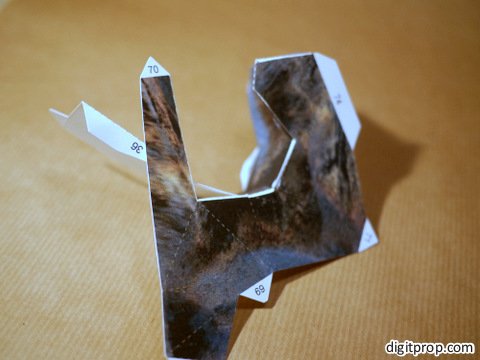
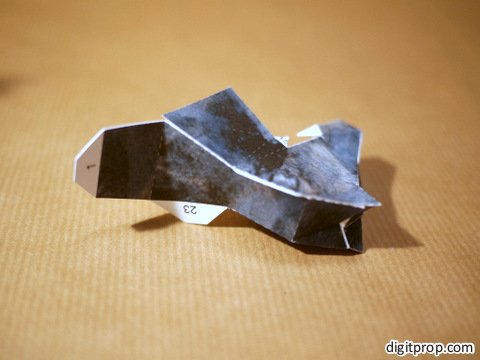
The long piece will form the faces along the space between the fore legs and hind legs. Glue flaps #67, #39, #73, #38, #72, and #36:
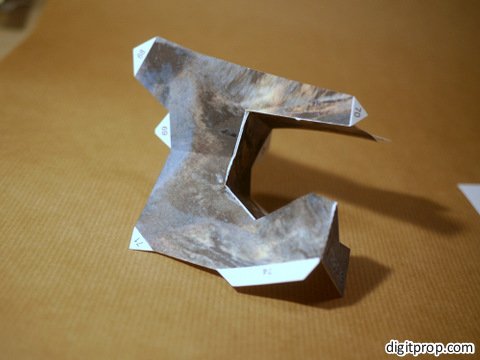
Next up is the front of the fore legs. Glue flaps #70, #53, and #33:
Now proceed to flaps #57 and #52. You will end up with the left fore leg, which – seen from the front – looks like this:

Next, glue flaps #42 and #41. The piece with these flaps will become the front of the right fore leg and the front of the neck.


Continue with flaps #43, #45, and #54:

The next step is a bit tricky: Glue flaps #44 and #55, This will connect three interlaced faces. Take your time and let the glue set, and try to match up the edges as cleanly as possible:

Glue flap #49, which is the right side of the neck.
Now continue with #58, #37, #34, #40, #59, #61, #63, and #51. These belong to the left side of the horse:

Now comes the back of the horse:

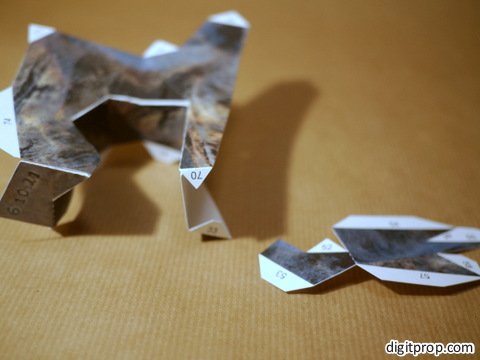
Take the small piece which contains flap #27. This will form the back and will include the tail (modelled as a slight bulge). Glue #26, #24, and 28:

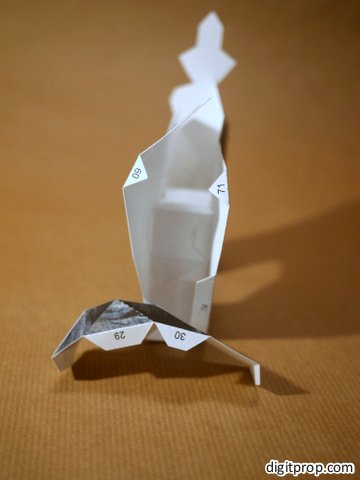
Now attach the back to the body by gluing flaps #27, #62, #74, #30, and #29, then #25, #71, #60:

Congratulations, you have finished the body! A note: We will keep the face attached to #56 open until the very end, so that you have access to the inside of the body. In this way, you can apply pressure from the inside when gluing on flaps.
Also, at this point you can glue small weights to the inside of the legs. This will give the horse more stability and lower the center of gravity, so that it doesn’t fall over so easily. This step is optional – the horse is quite stable without weights already, but the added weight gives is a more realistic feeling as well.
Now on to the head, which is the most difficult part of the model:
Start with the mouth by folding back the two sides and gluing flaps #5 and #6:
Then, continue with #7, #9, #17, and #12:

Next, a series of triangles form the two pointy ears in the shape of two small pyramids. Take care to use not too much glue, and take your time with these small details: Glue #13 and #2:

Next are #8 and #10 which attach the ears to the forehead. And #3 connects both ears:

Now, #4, #18, #20, and #21will finish the top of the head:
#14 and #22 close the left side of the neck:
Now the head will attach to the body. This, again, is a bit tricky, as there are small flaps involved, and you have to handle the relatively large body. Glue #46, #16, #11, #47, #48, #19, and #15:

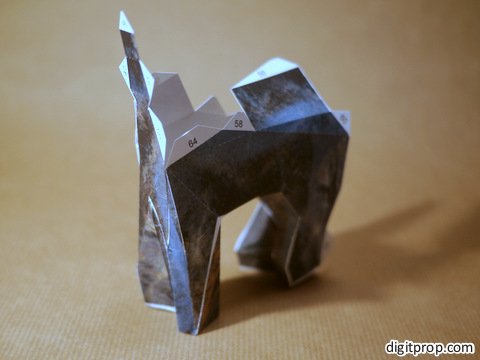
This will connect the front of the neck and the part below the mouth to the head. The difficult part is done now, and the remaining steps are simple. Continue with #50 and #64, then #68 and #23:
Now #69 and #58:

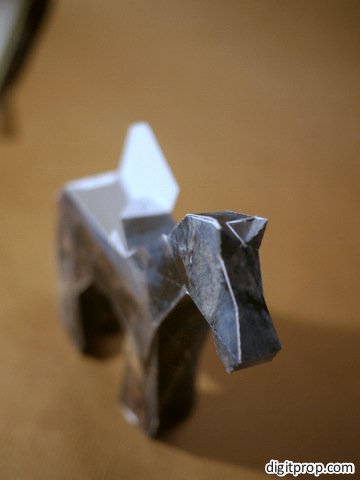
And finally #31, #1, and #56 which closes the final opening:
Awesome – you are done:
Now, you can hide the remaining white edges by coloring them with a felt tip marker, as mentioned above.
Here are the templates:
PDF template with colored flaps – this will result in a more beautiful model, as the flaps continue the color of the adjacent faces, but the numbers on the flaps are difficult to read. I suggest using this template and having a printout of the one with white flaps ready for reference.
PDF template with white flaps – this one has white flaps which possibly show in the final model.
And just in case you want to 3D print it, here is the STL file.
 This work is licensed under a Creative Commons Attribution-NonCommercial-NoDerivatives 4.0 International License. For more details on what you can and cannot do with my work, see here.
Yay! I am so glad you posted again. Are you going to start posting tutorials more regularly? I love your crafts and I would love to see more.
Hey, thanks for the comment. I was very busy over the summer. Hopefully, by the beginning of 2018 things will be a bit more relaxed, and I definitely intend to post more things and tutorials in the future.
How ever did you manage to build such a beautiful horse that even has expressive positions? Makes me want to see the movie.
The credit is entirely with the film crew who made the prop (I wasn’t actually able to find out who exactly designed it). I worked from movie stills and pictures, and tried to reconstruct the shape as faithfully as possible. The original horse, when you look at it closely, is indeed an amazing piece of art.
As for the movie, obviously I enjoyed it very much, but it might not be for everyone. It’s quite long, takes its time with the story – which is quite unusual these days – and shows a desolate and sad world which at the same time is hauntingly beautiful in a way. Hard to describe, but I know a couple of people who would leave the cinema very depressed.
Having said that, if you enjoyed Tarkovsky’s Stalker or Solaris, or – of course – the original Blade Runner, this movie definitely is for you.